EBITDA
Create an EBITDA plan
The Budget & Capacity plan is the foundation for all FAB5 schedules including EBITDA. In most cases, the EBITDA plan will automatically be created alongside the Budget & Capacity plan.
If you need to create a standalone EBITDA plan, you must have a new Budget & Capacity plan that is not already linked to another EBITDA plan.
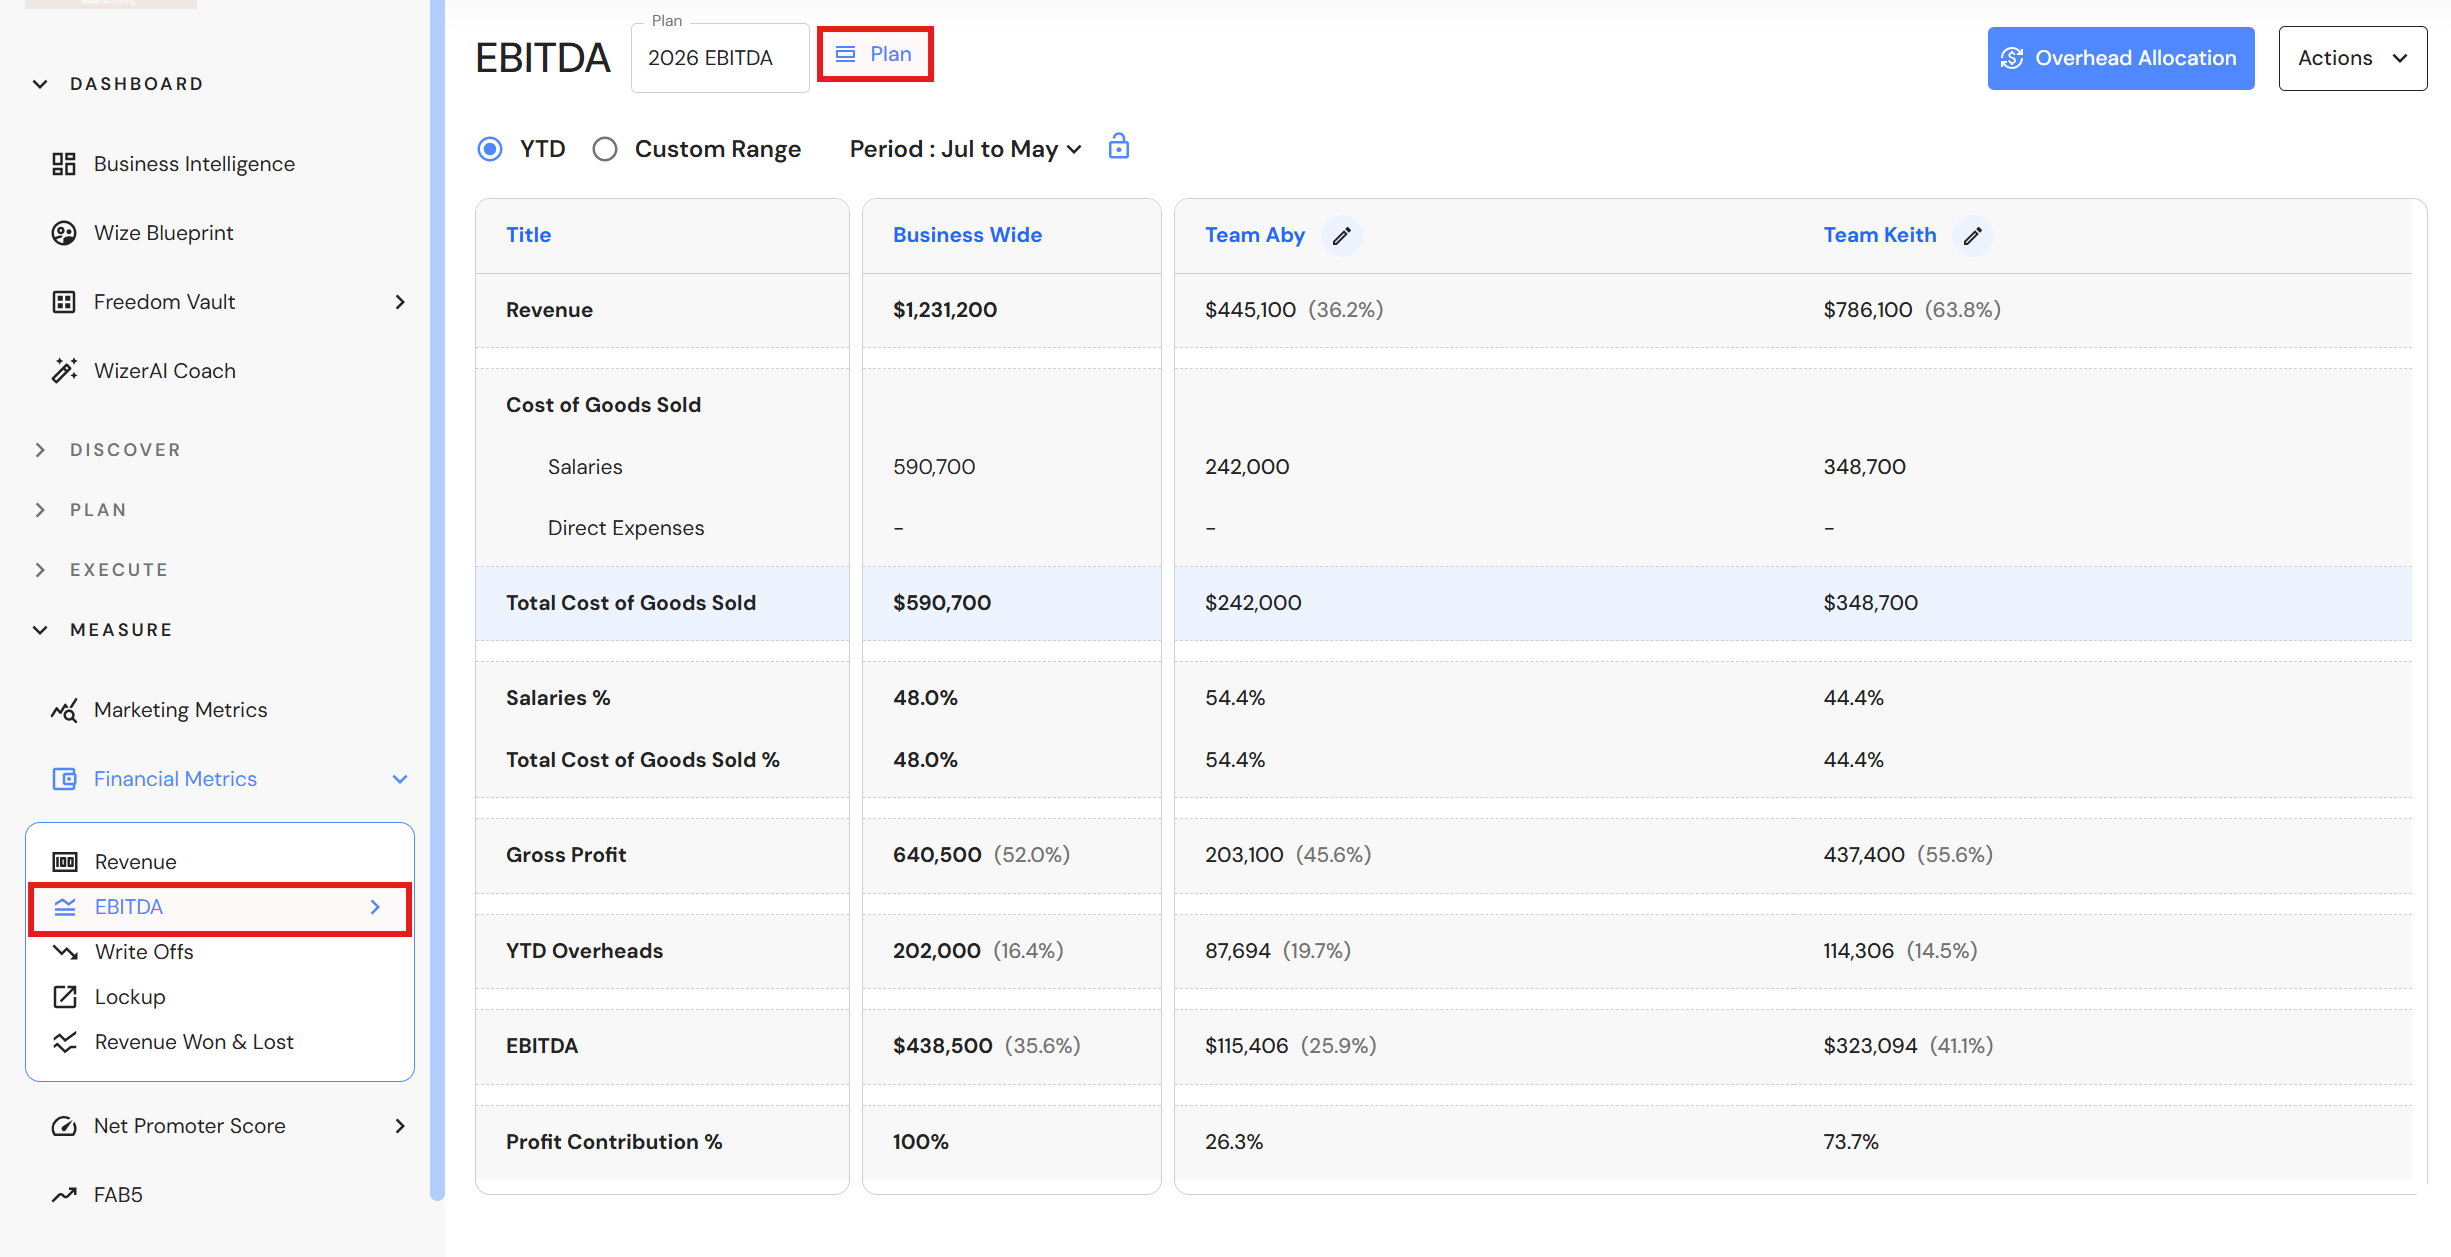
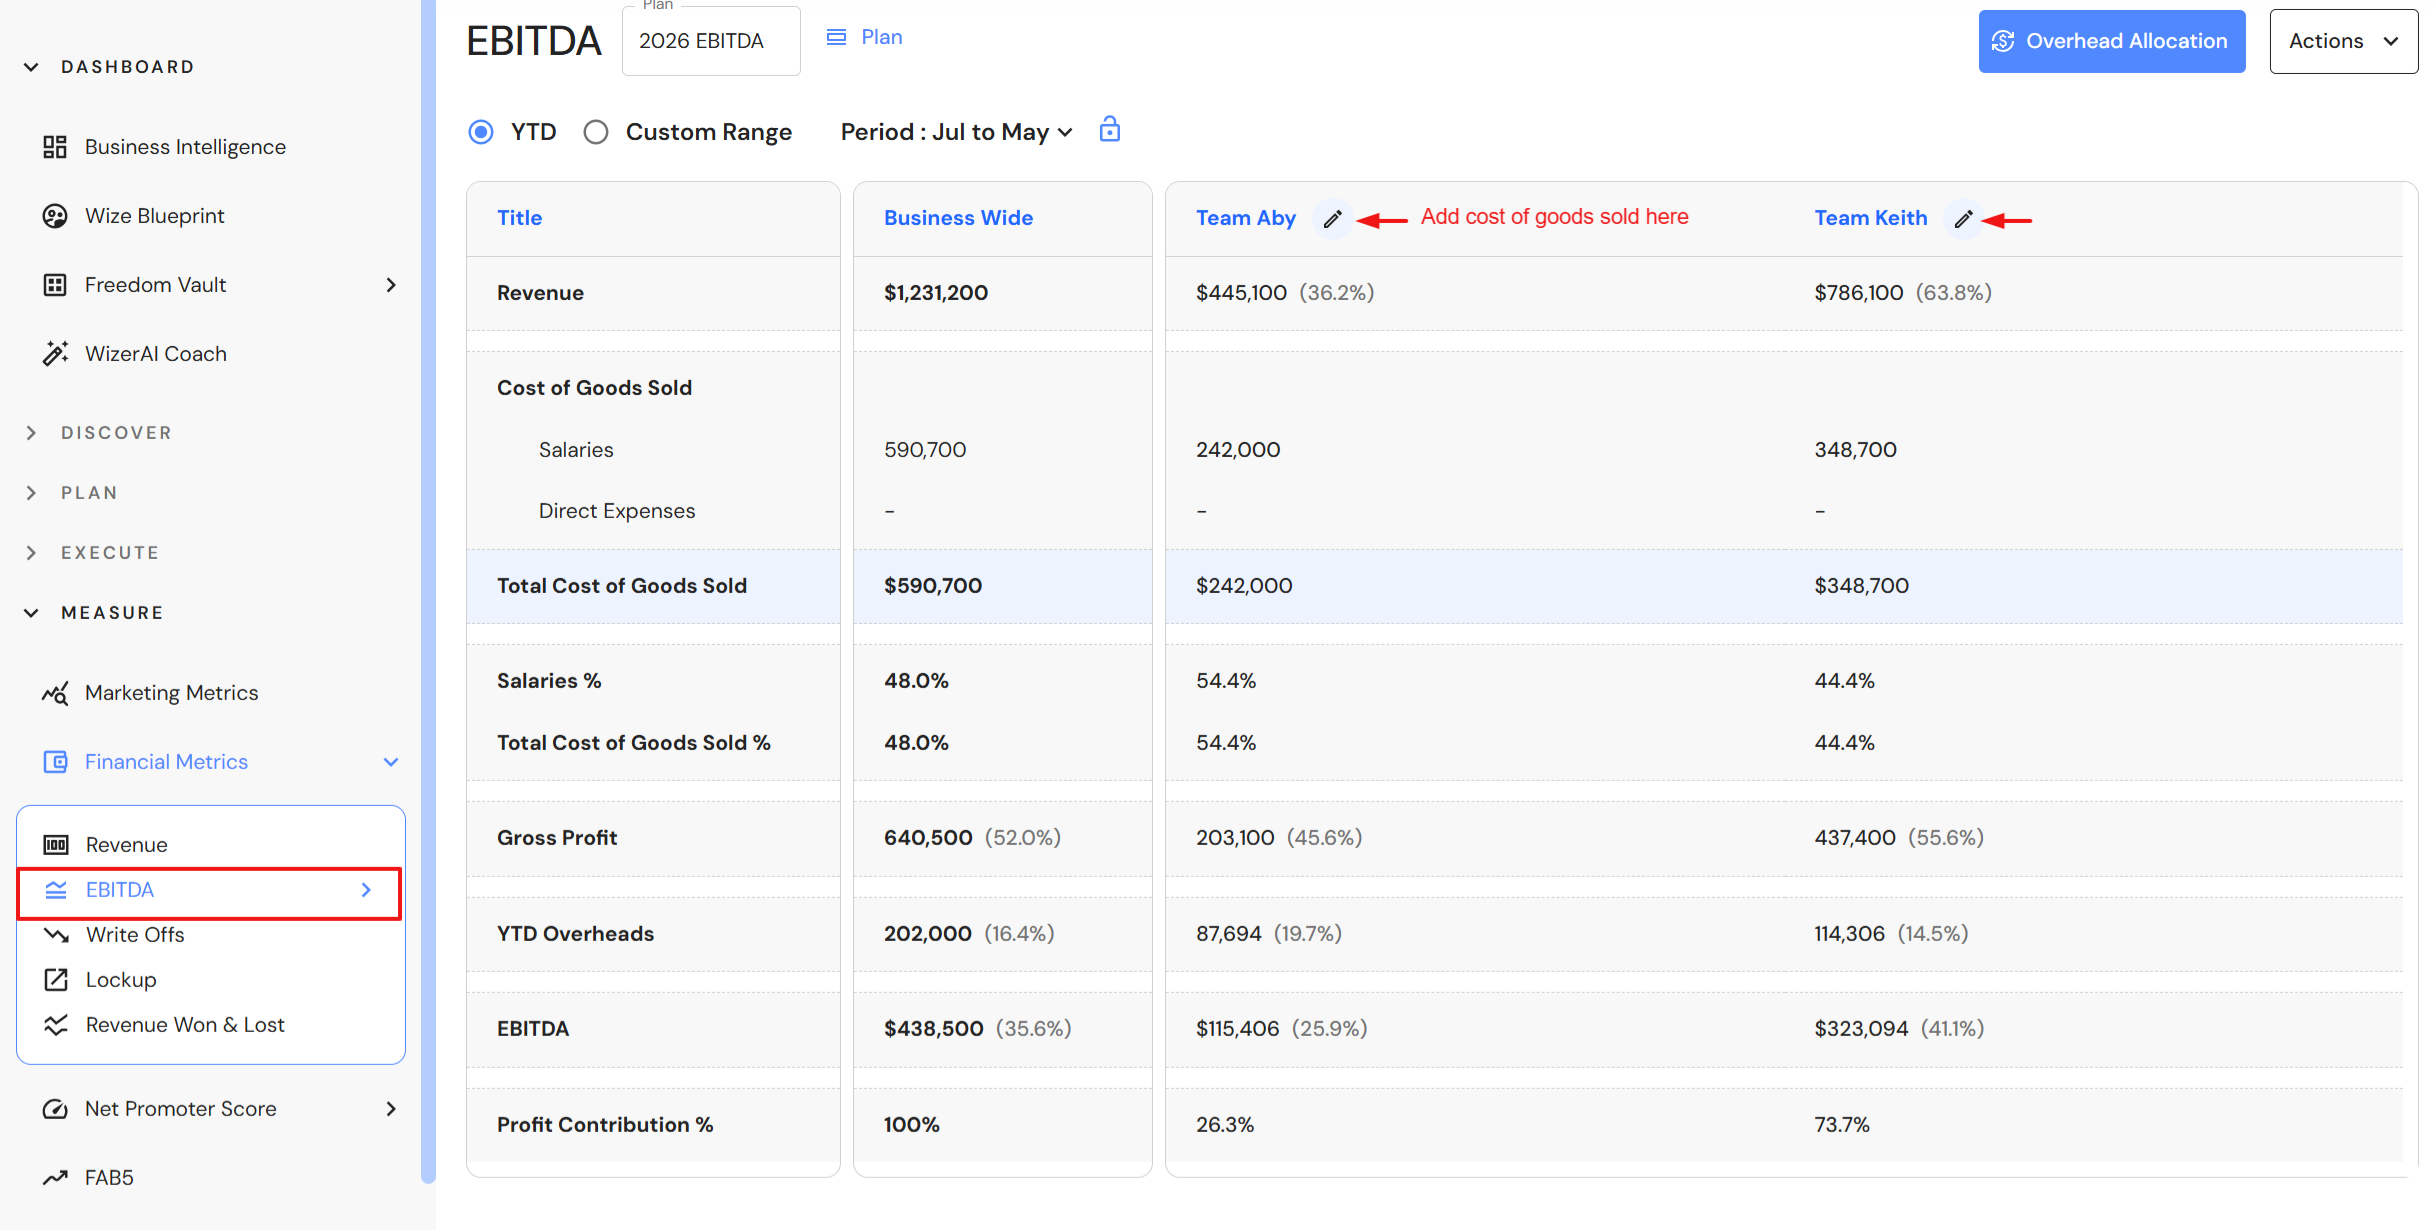
- Go to Measure > Financial Metrics > EBITDA
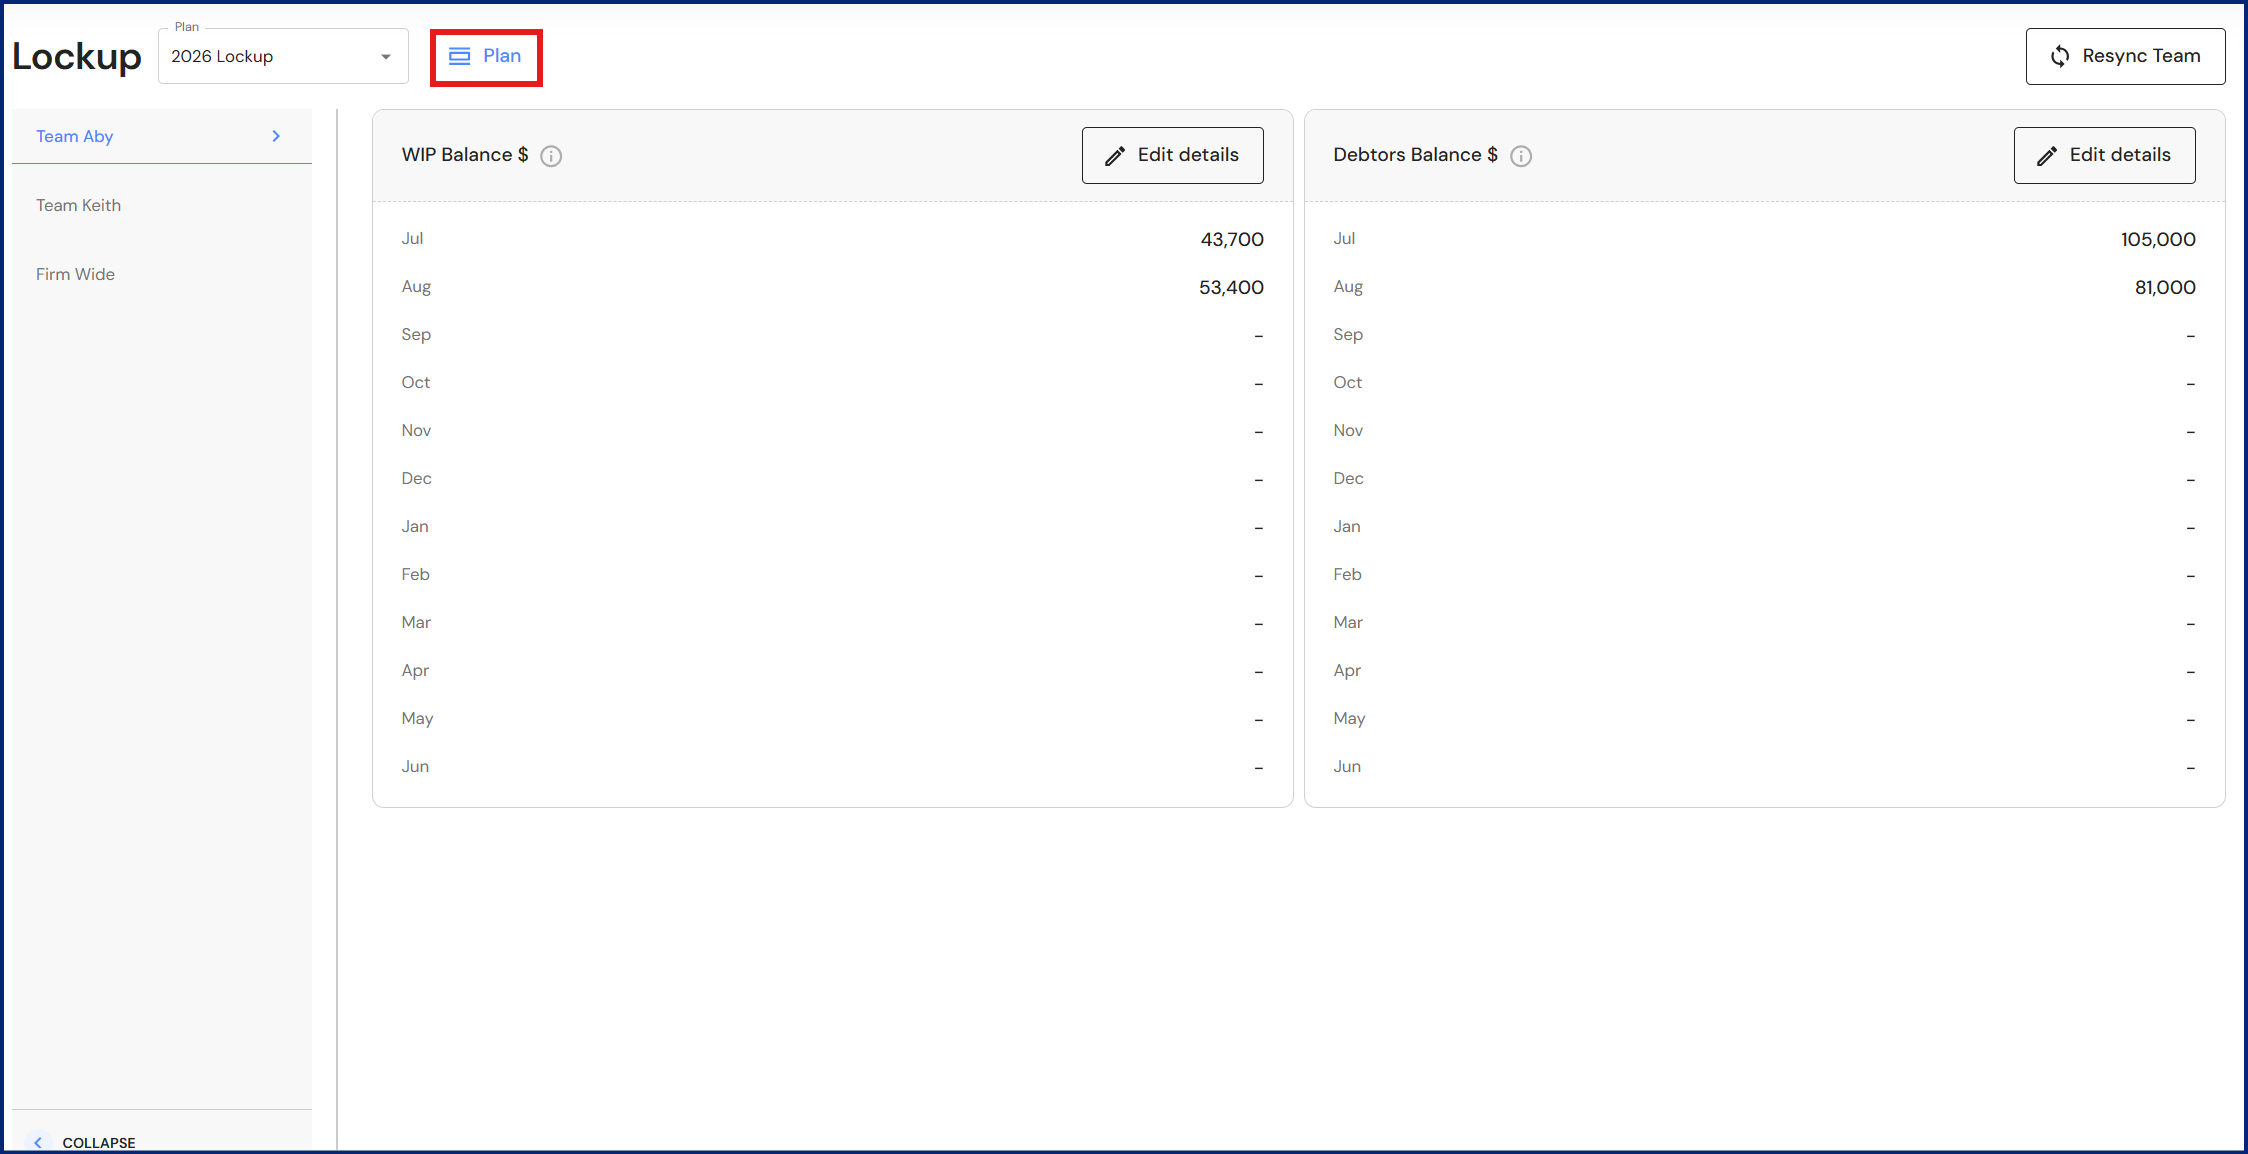
- Click 'Plan'
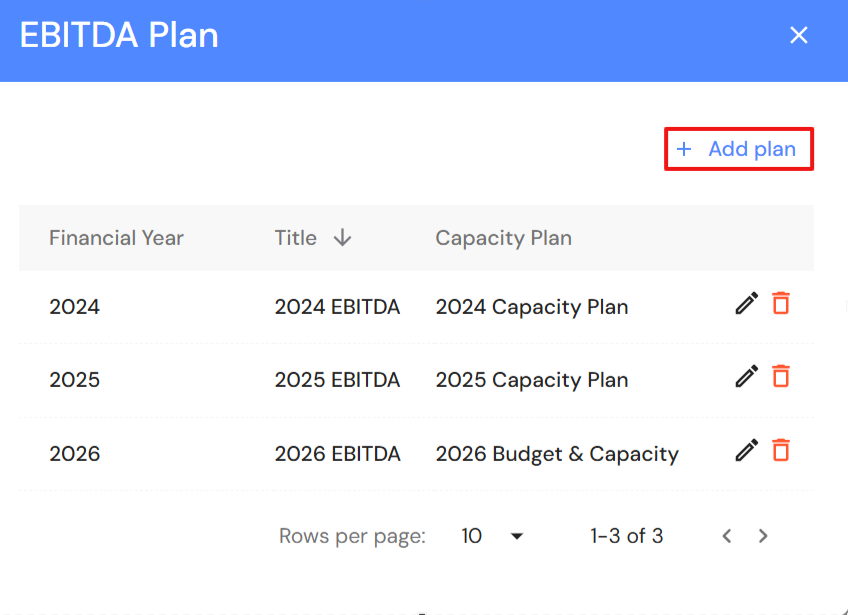
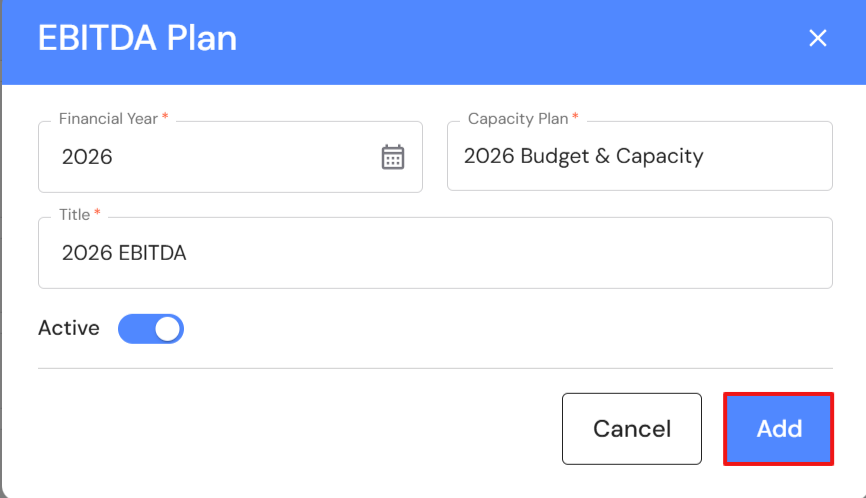
- Click '+ Add plan'.
- Select the financial year and capacity plan to be linked to EBITDA.
- Add a title e.g. 2026 EBITDA.
- Switch the 'Active' toggle on if you would like the EBITDA plan to be the default plan. NB* If you have the active toggle set to 'on' in more than one EBITDA plan, the newest plan will become the default.
- Click 'Add'.
- Teams will automatically sync from the Budget & Capacity plan.
Update EBITDA
Go to Measure > Financial Metrics > EBITDA
- In the EBITDA plan, enter monthly salaries and direct expenses for each team. Then add overheads and use your preferred distribution method across teams.
- Click the edit icon next to each team name.
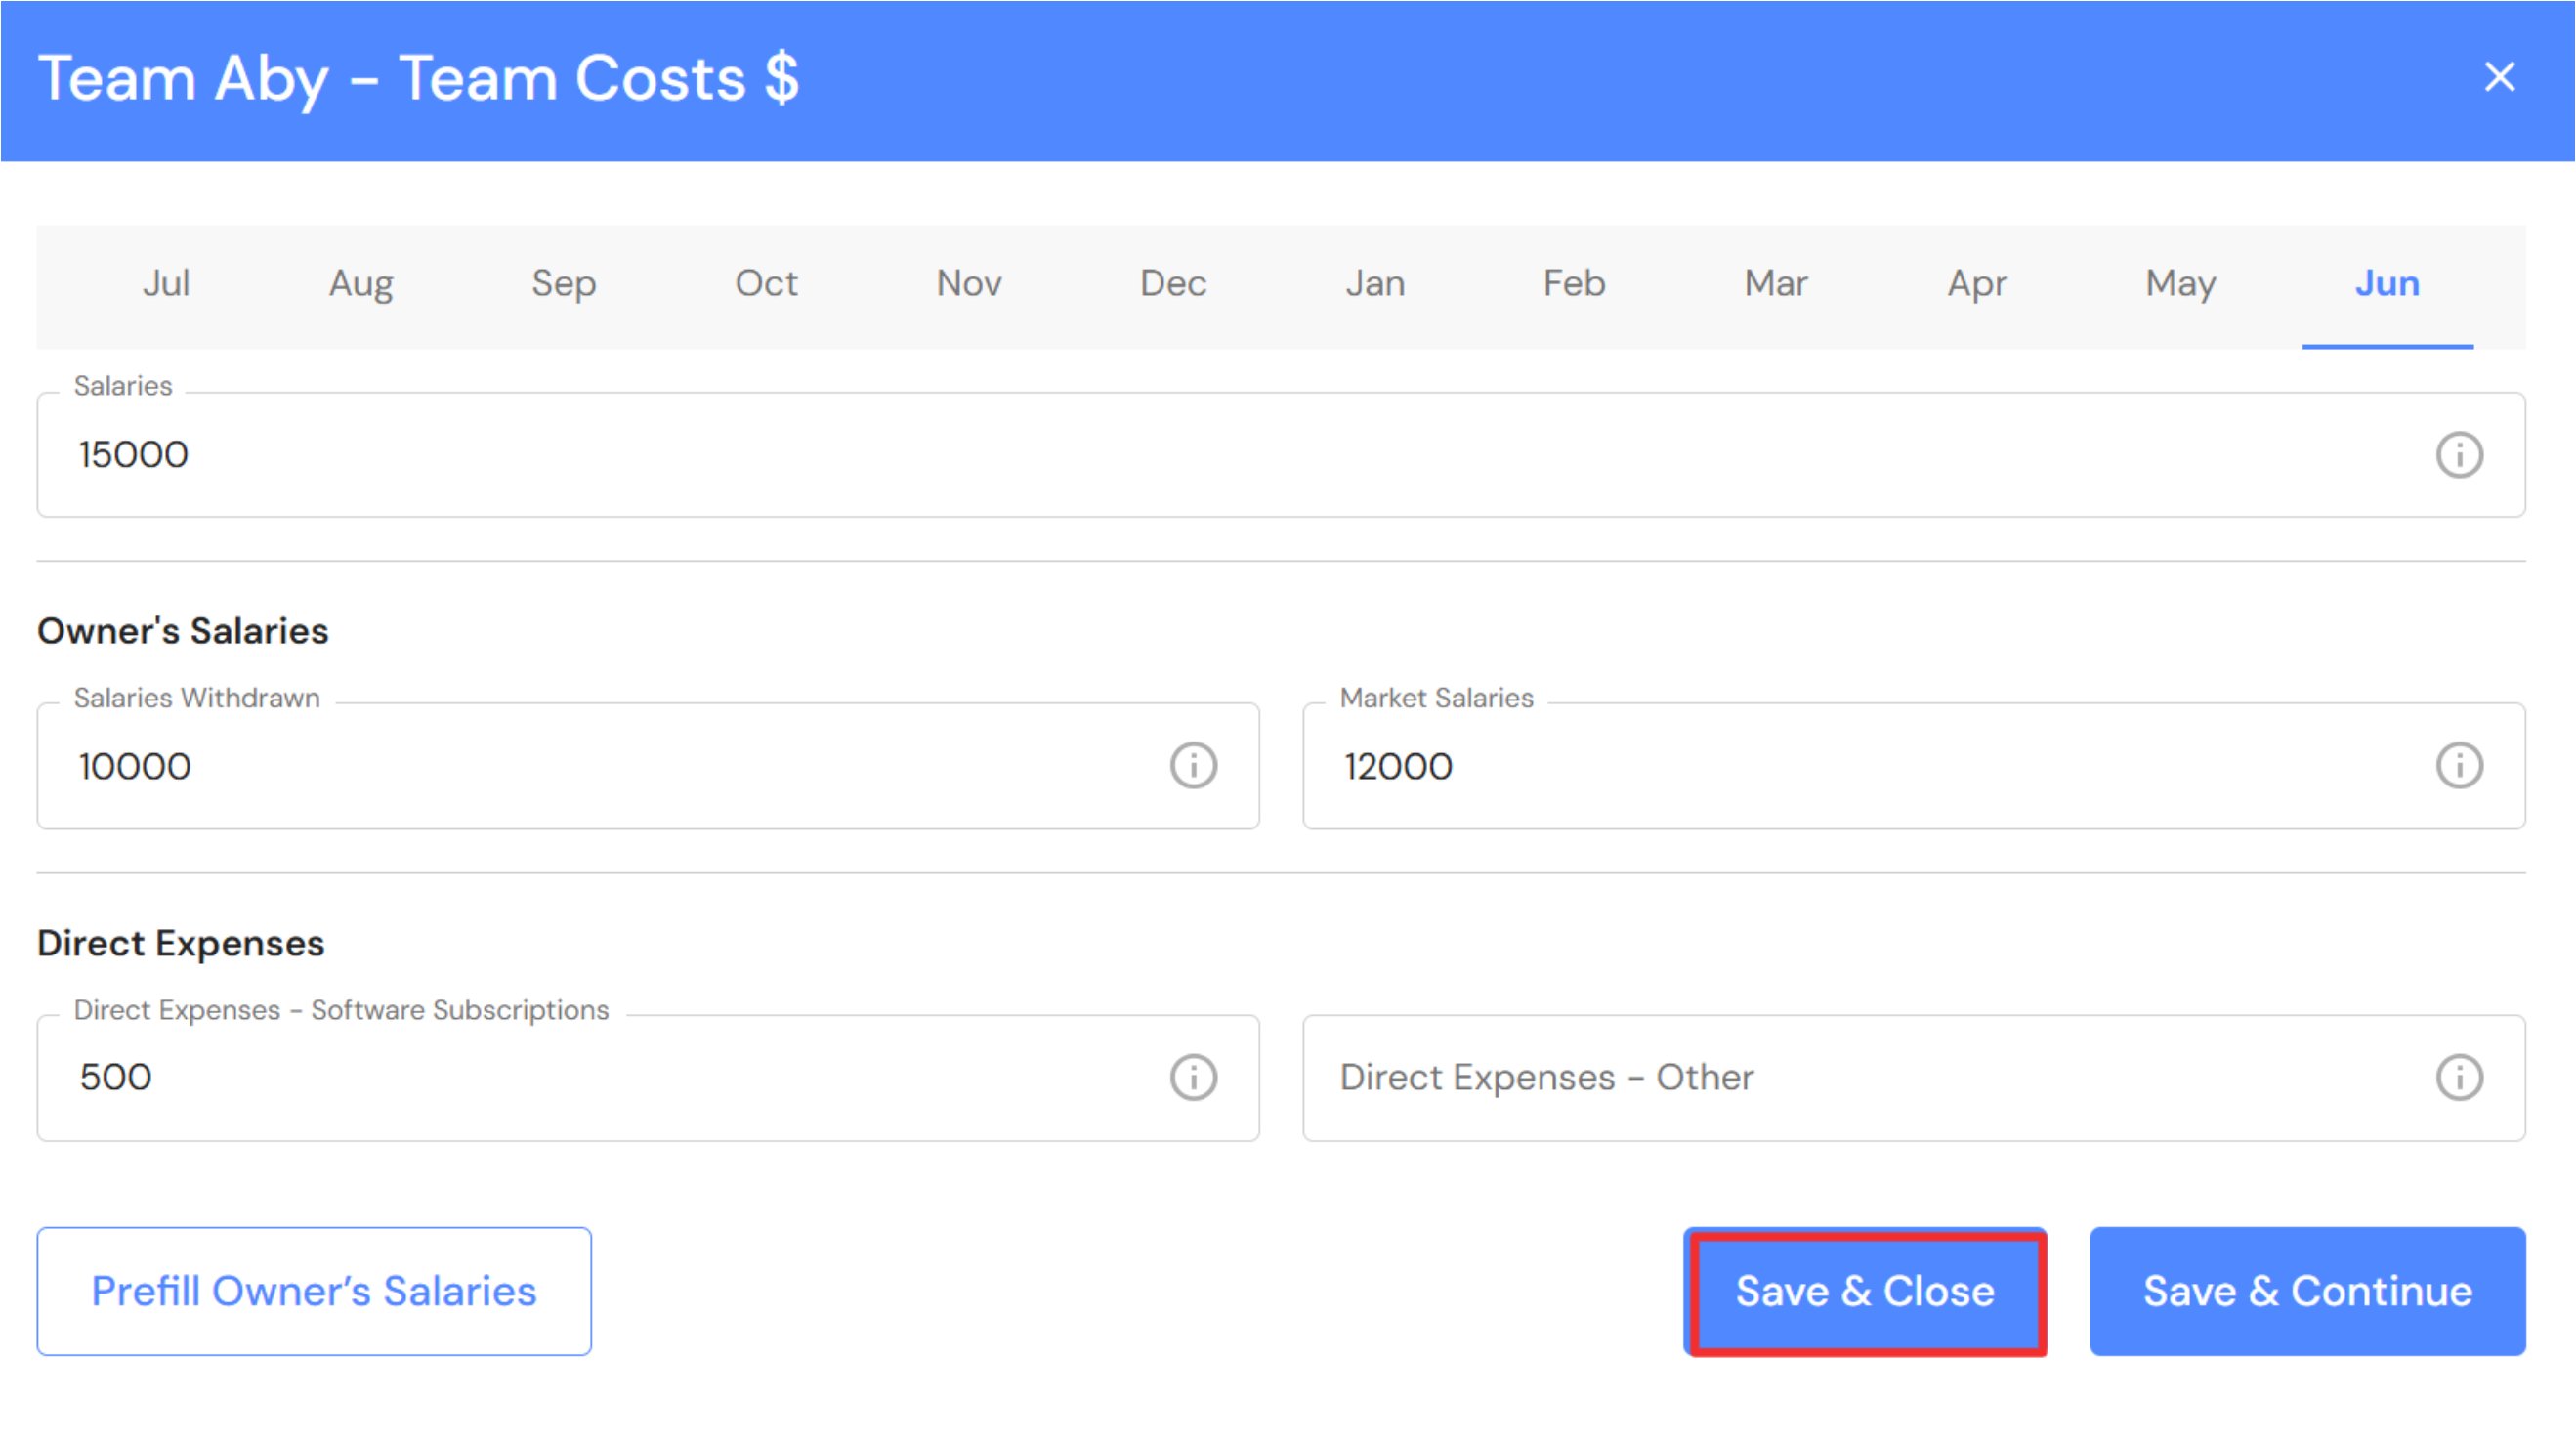
- Click on the relevant month and enter production team salaries, owner's salaries (if required), and direct expenses.
If a business owner is not part of the production team, do not enter amounts in owner's salaries. Owner's Salaries:- Salaries Withdrawn - Enter the monthly salary paid to owner's who are in the production team.
- Market Salaries - Enter the monthly market salary you would pay to hire the equivalent role in the labour market.
The highest value between salaries withdrawn and market salaries will be used in the EBITDA calculation. The main purpose is to assign a commercial salary to business profitability when business owners are paying themselves a "discounted salary".
- Click 'Save & Close'. If you have additional months to enter, click 'Save & Continue'.
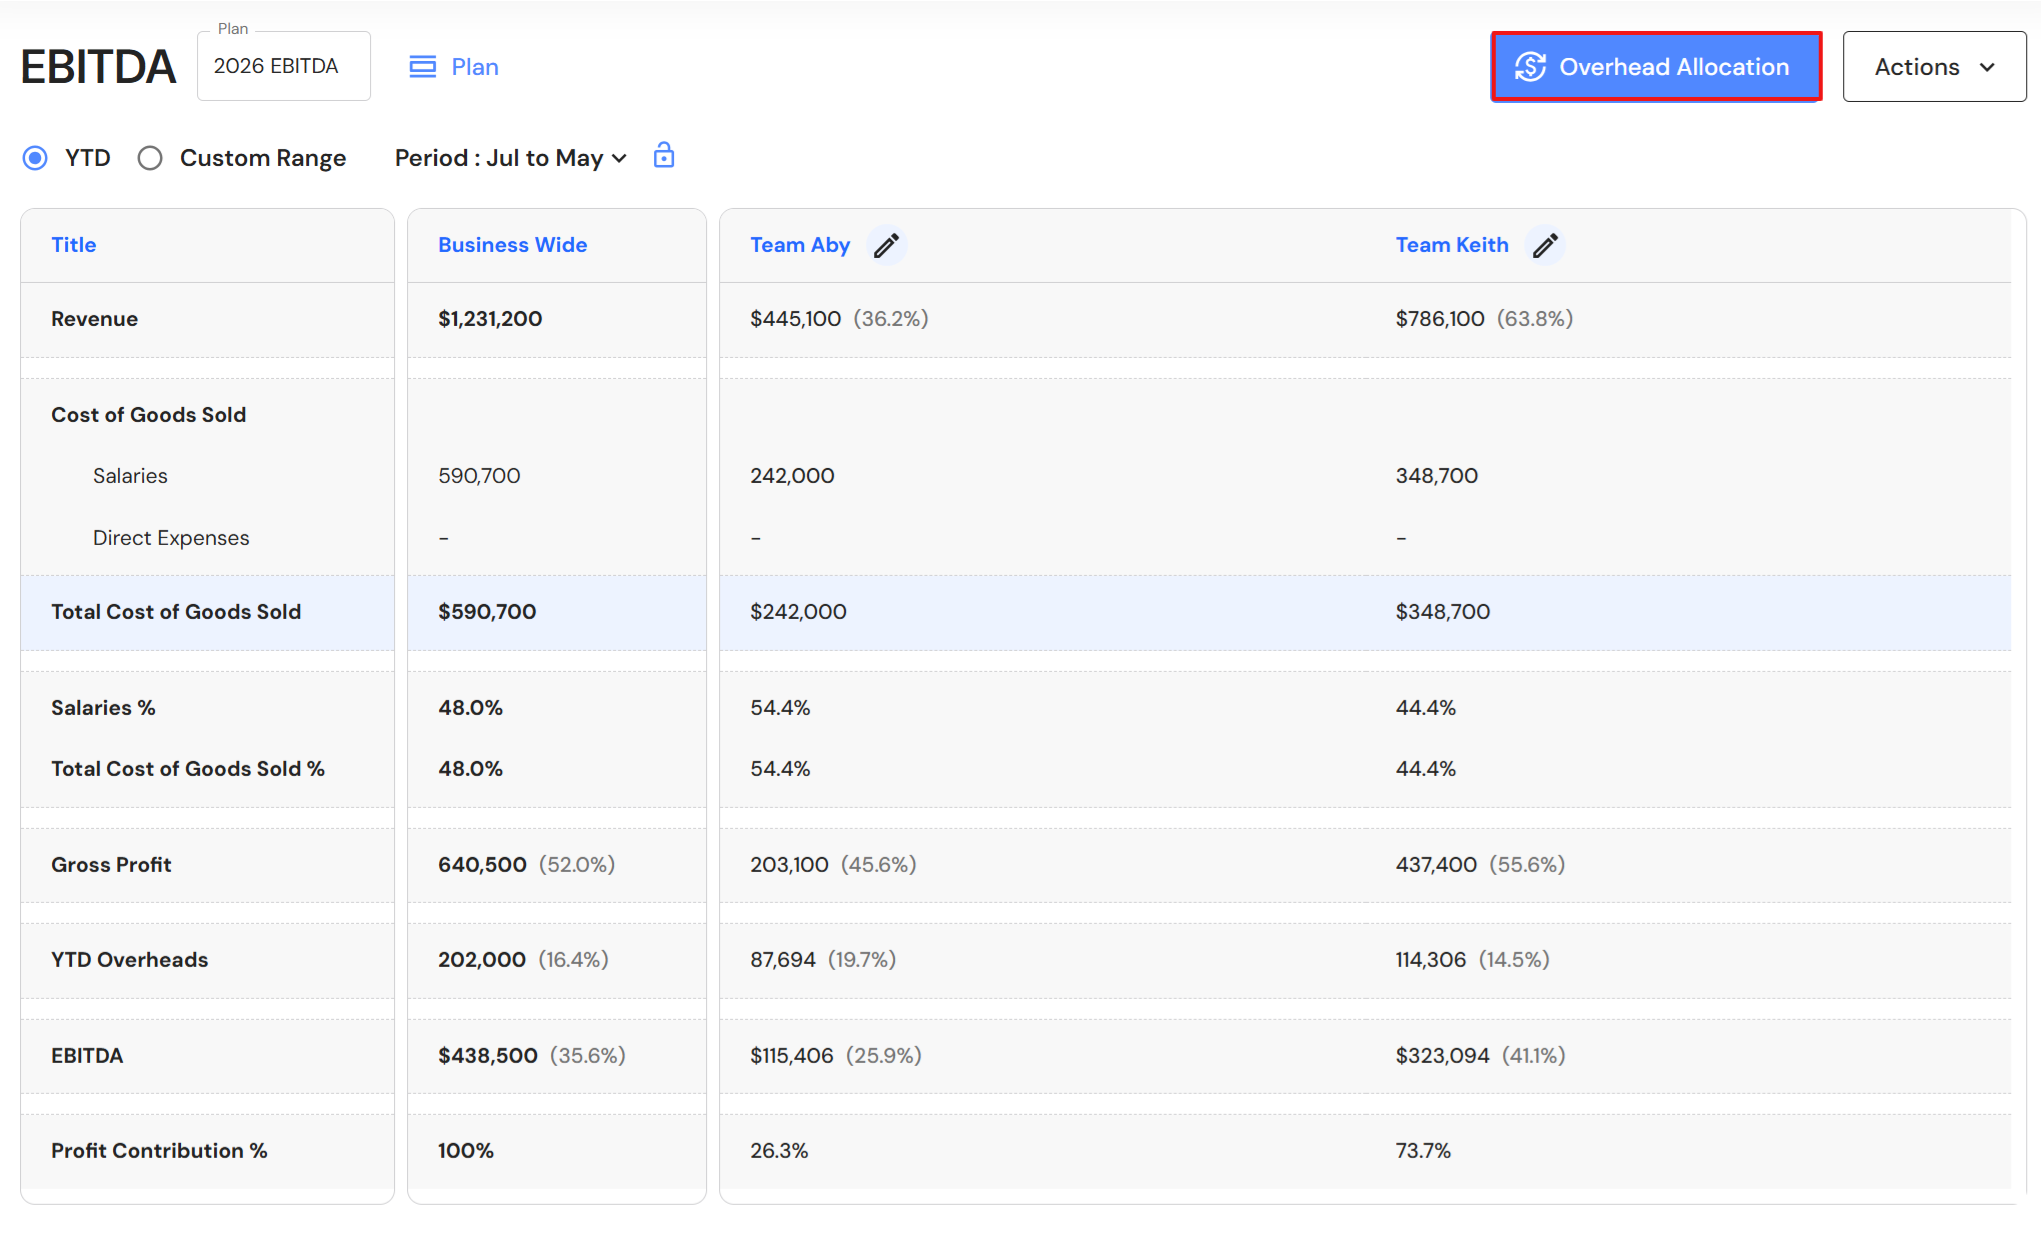
- The next step is to enter business overheads. Business overheads include operational expenses such as occupancy, marketing and administration expenses (including administration team salaries). Click 'Actions', then select 'Overhead Allocation'.
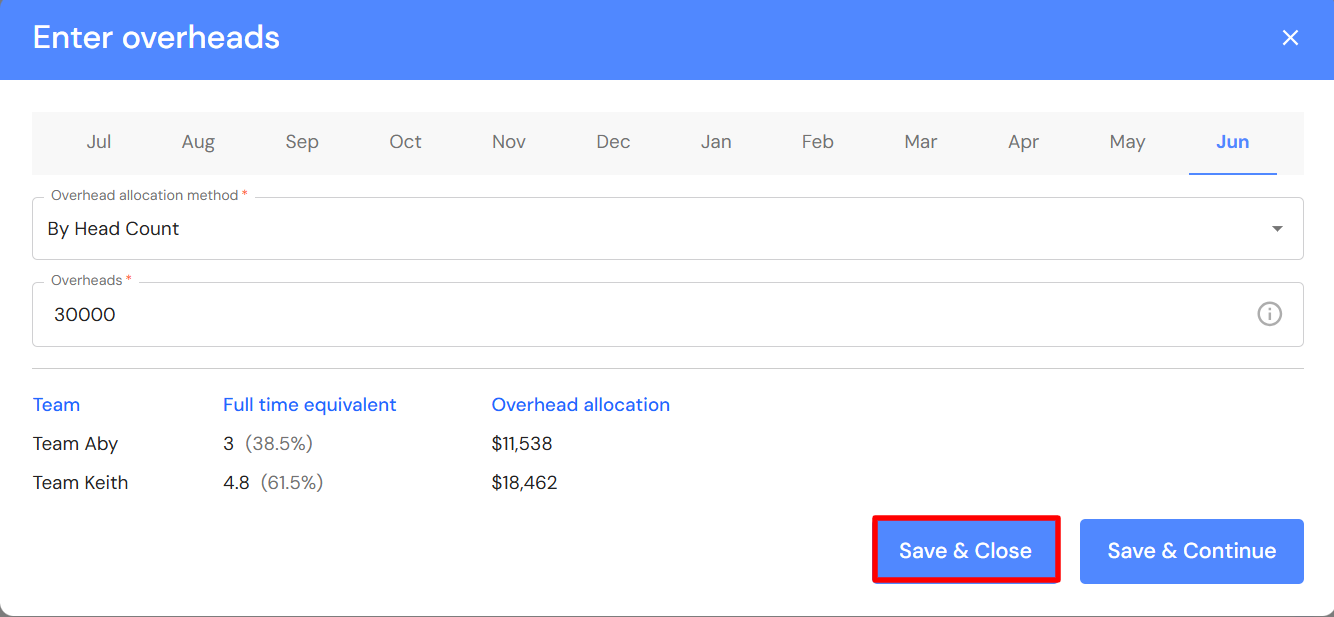
- Click on the relevant month.
- Enter your monthly business overheads (overheads include non-production team salaries and business owner salaries if they are no longer working in the production division). You have three options:
- By Revenue - Overheads are apportioned to each team based on the revenue contribution of each team.
- By Head Count - Overheads are apportioned to each team based on the full time equivalent (FTE) of each team. If the calculation is not working, refer to Business Details and check your standard weekly hours.
- Manual Input - Enter an amount for each team.
- Click 'Save & Close'. If you have additional months to enter, click 'Save & Continue'.
Lock the Reporting Period
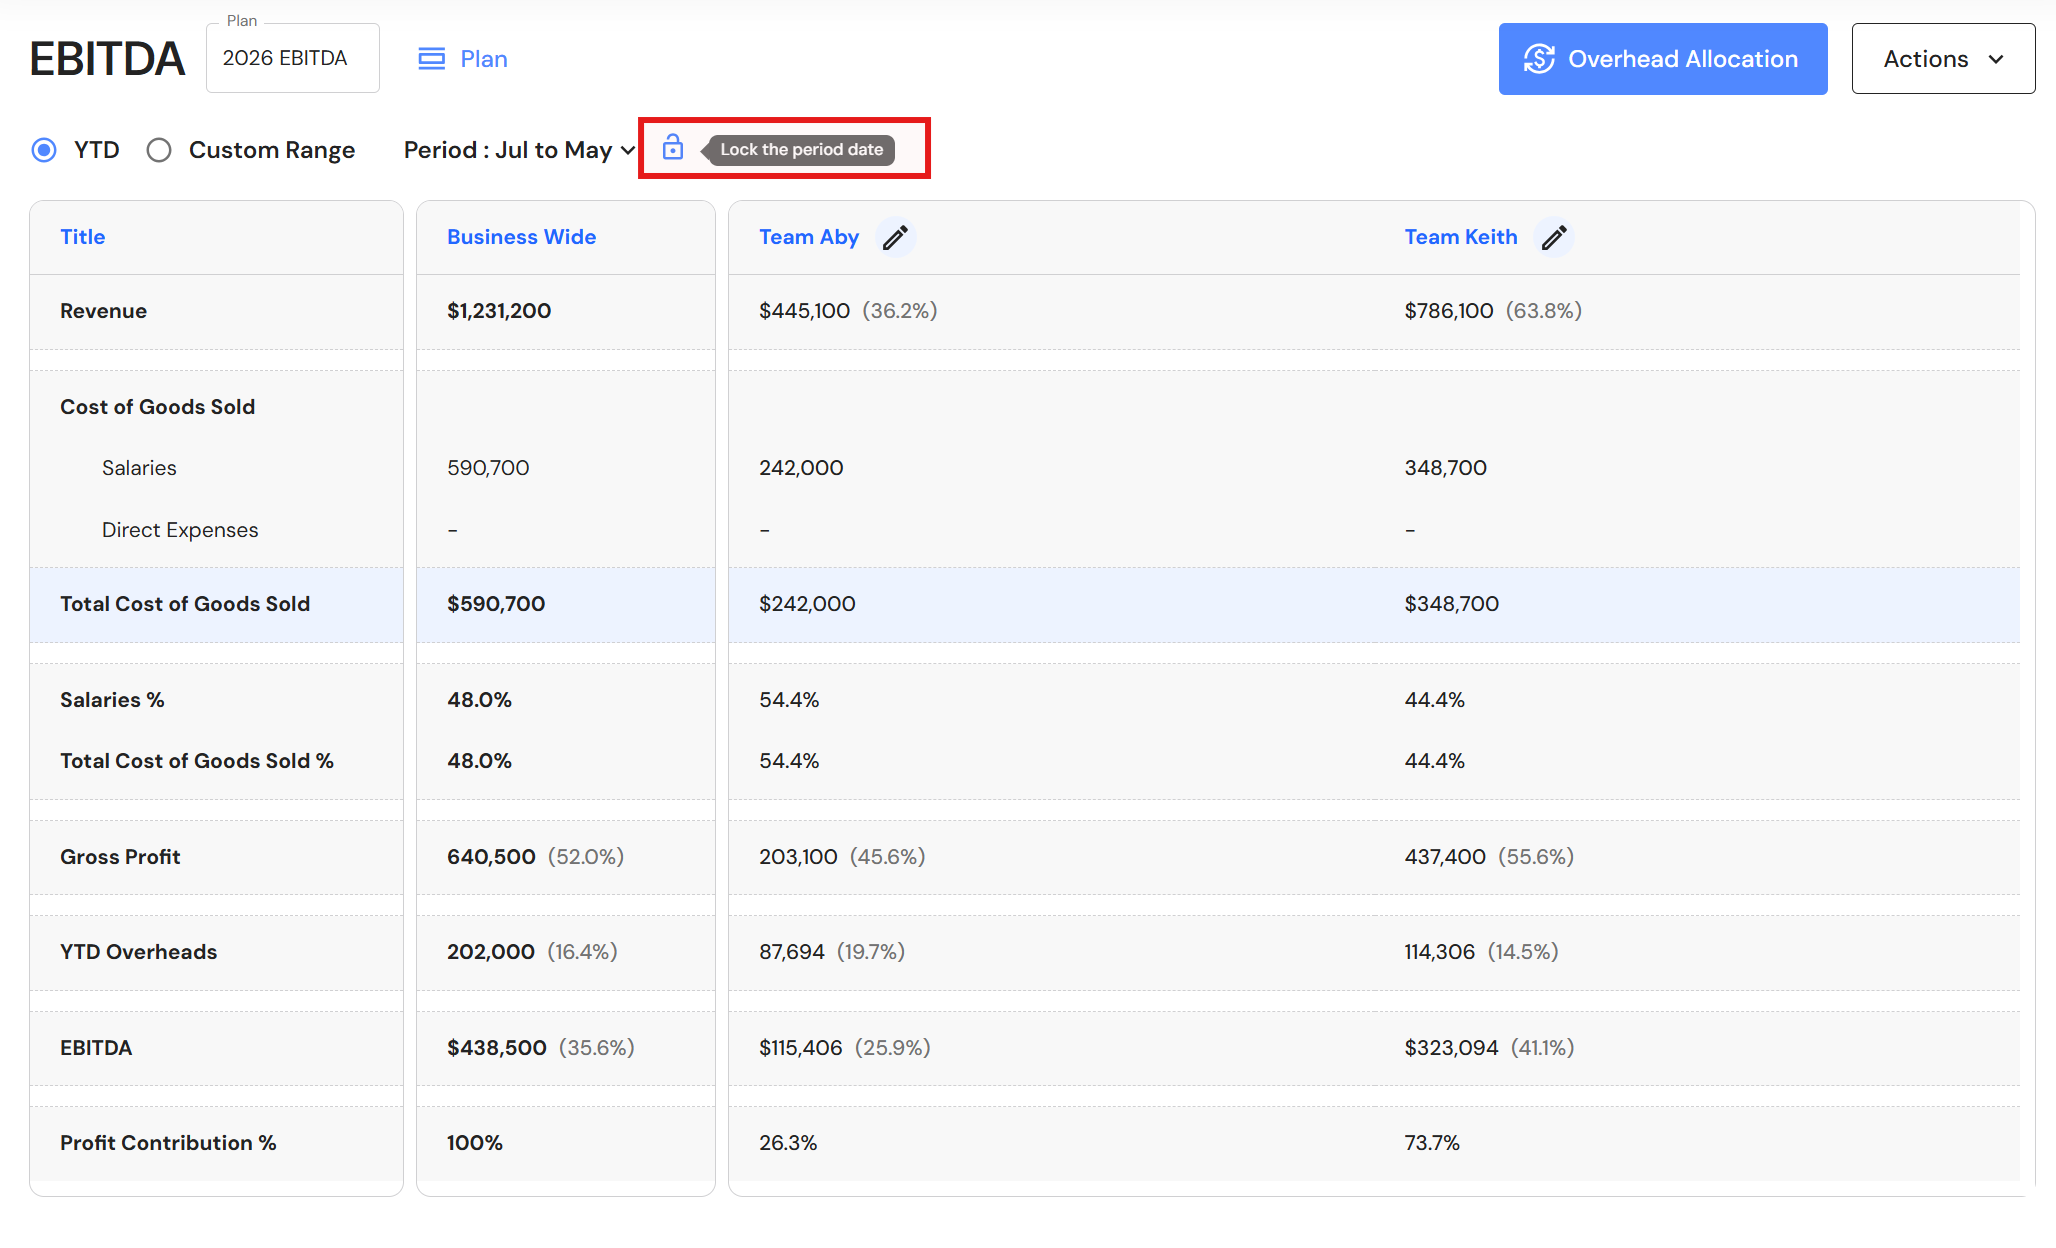
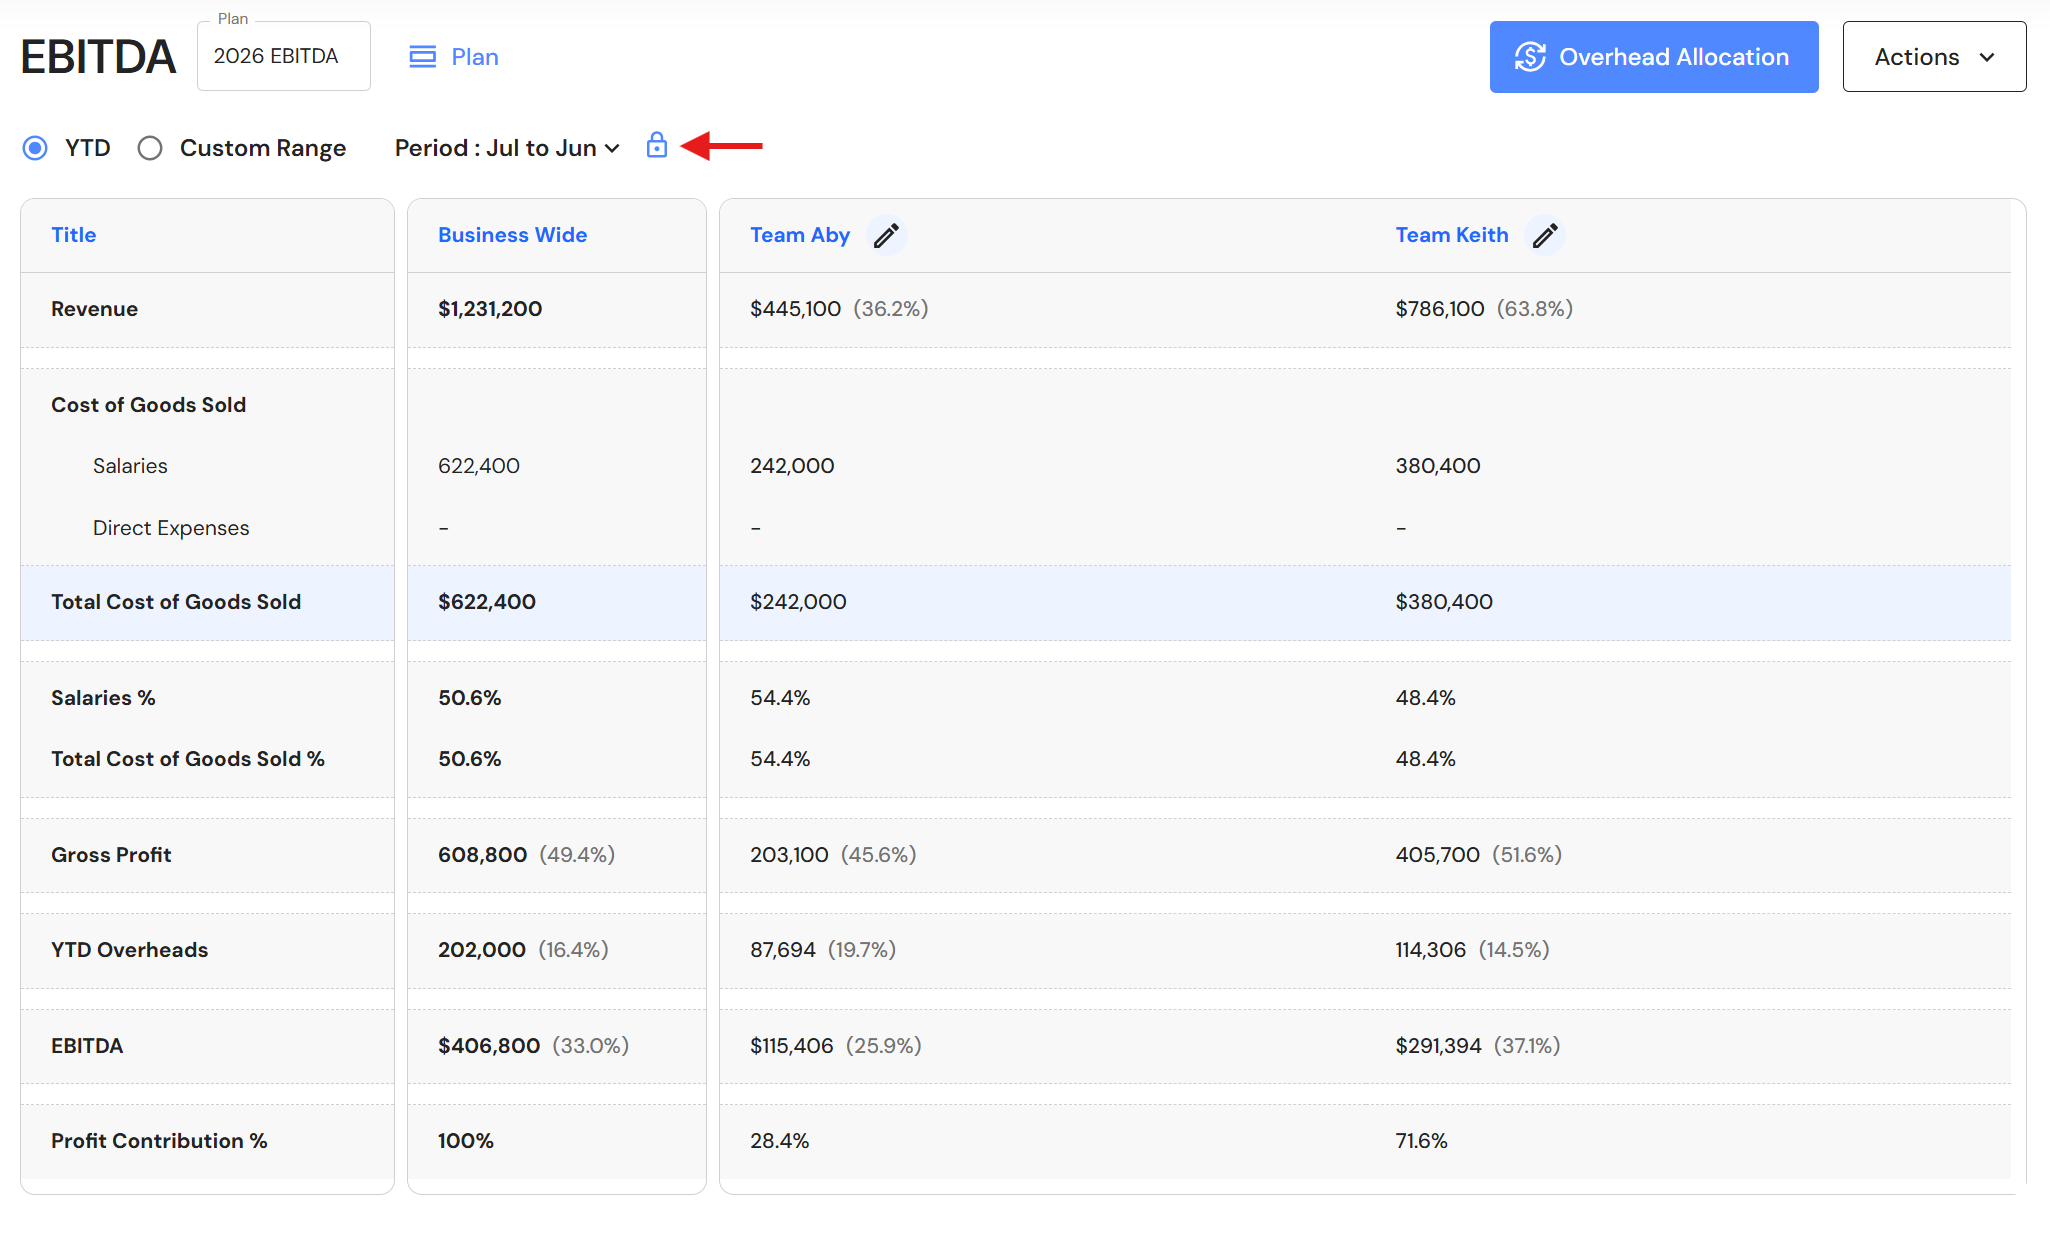
The default reporting period for current financial year plans is the first month of the financial year to the previous month. Users can select a reporting period and lock the date e.g. full financial year. The locked reporting period will become the default while the padlock remains locked.
- To lock the reporting period, select a YTD date range and click the padlock.
- Click the padlock to unlock the reporting period.
View EBITDA using a Custom Range
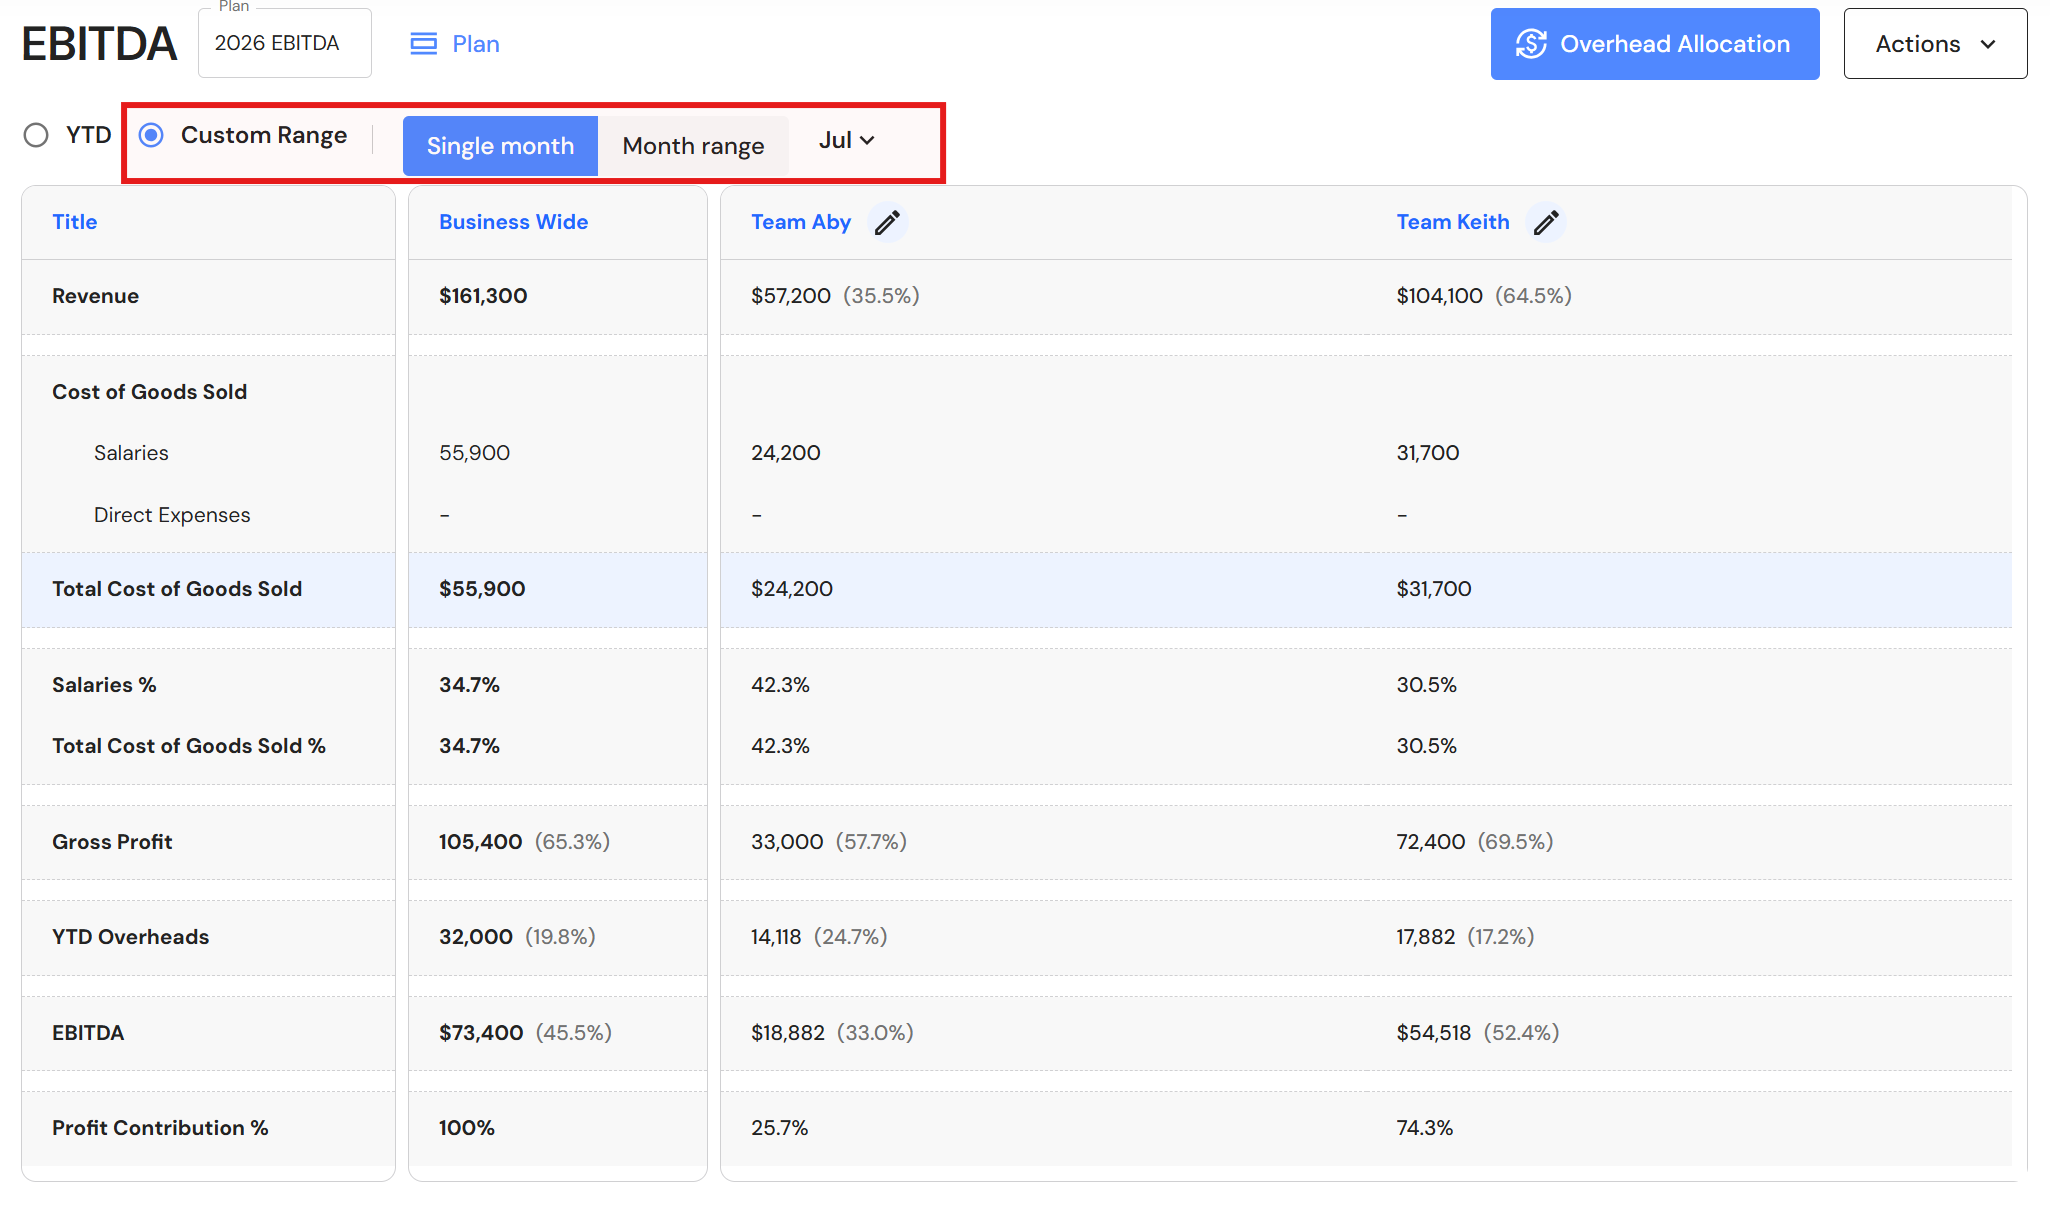
Users may wish to isolate EBITDA results for a single month or date range.
- Click 'Custom Range'.
- Click on the 'Single month' or 'Month range' tab.
- Select the date range.
Print to PDF
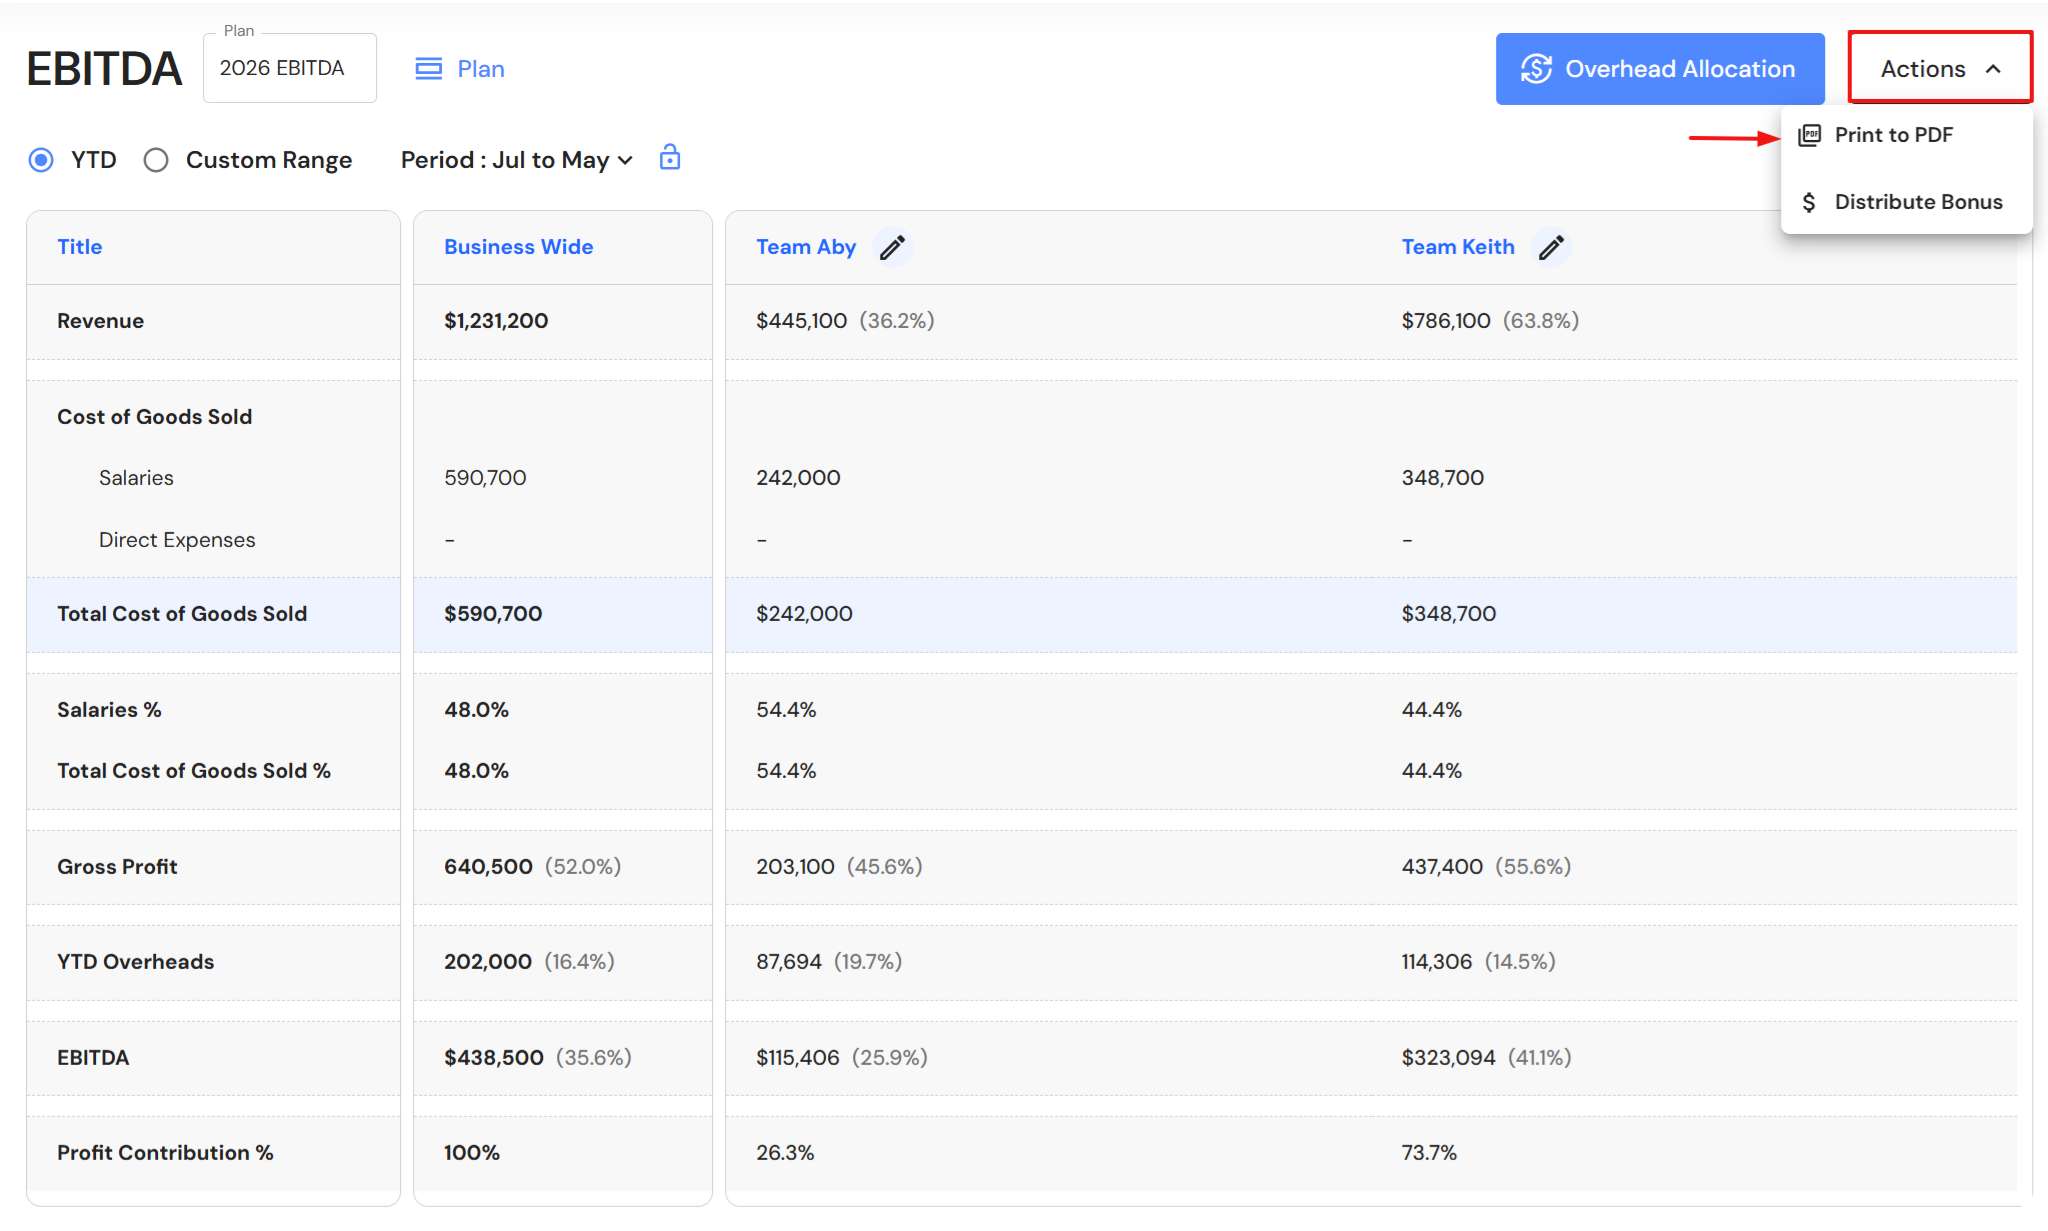
To print your EBITDA plan to PDF, click 'Actions' then 'Print to PDF'.
Rename an EBITDA plan
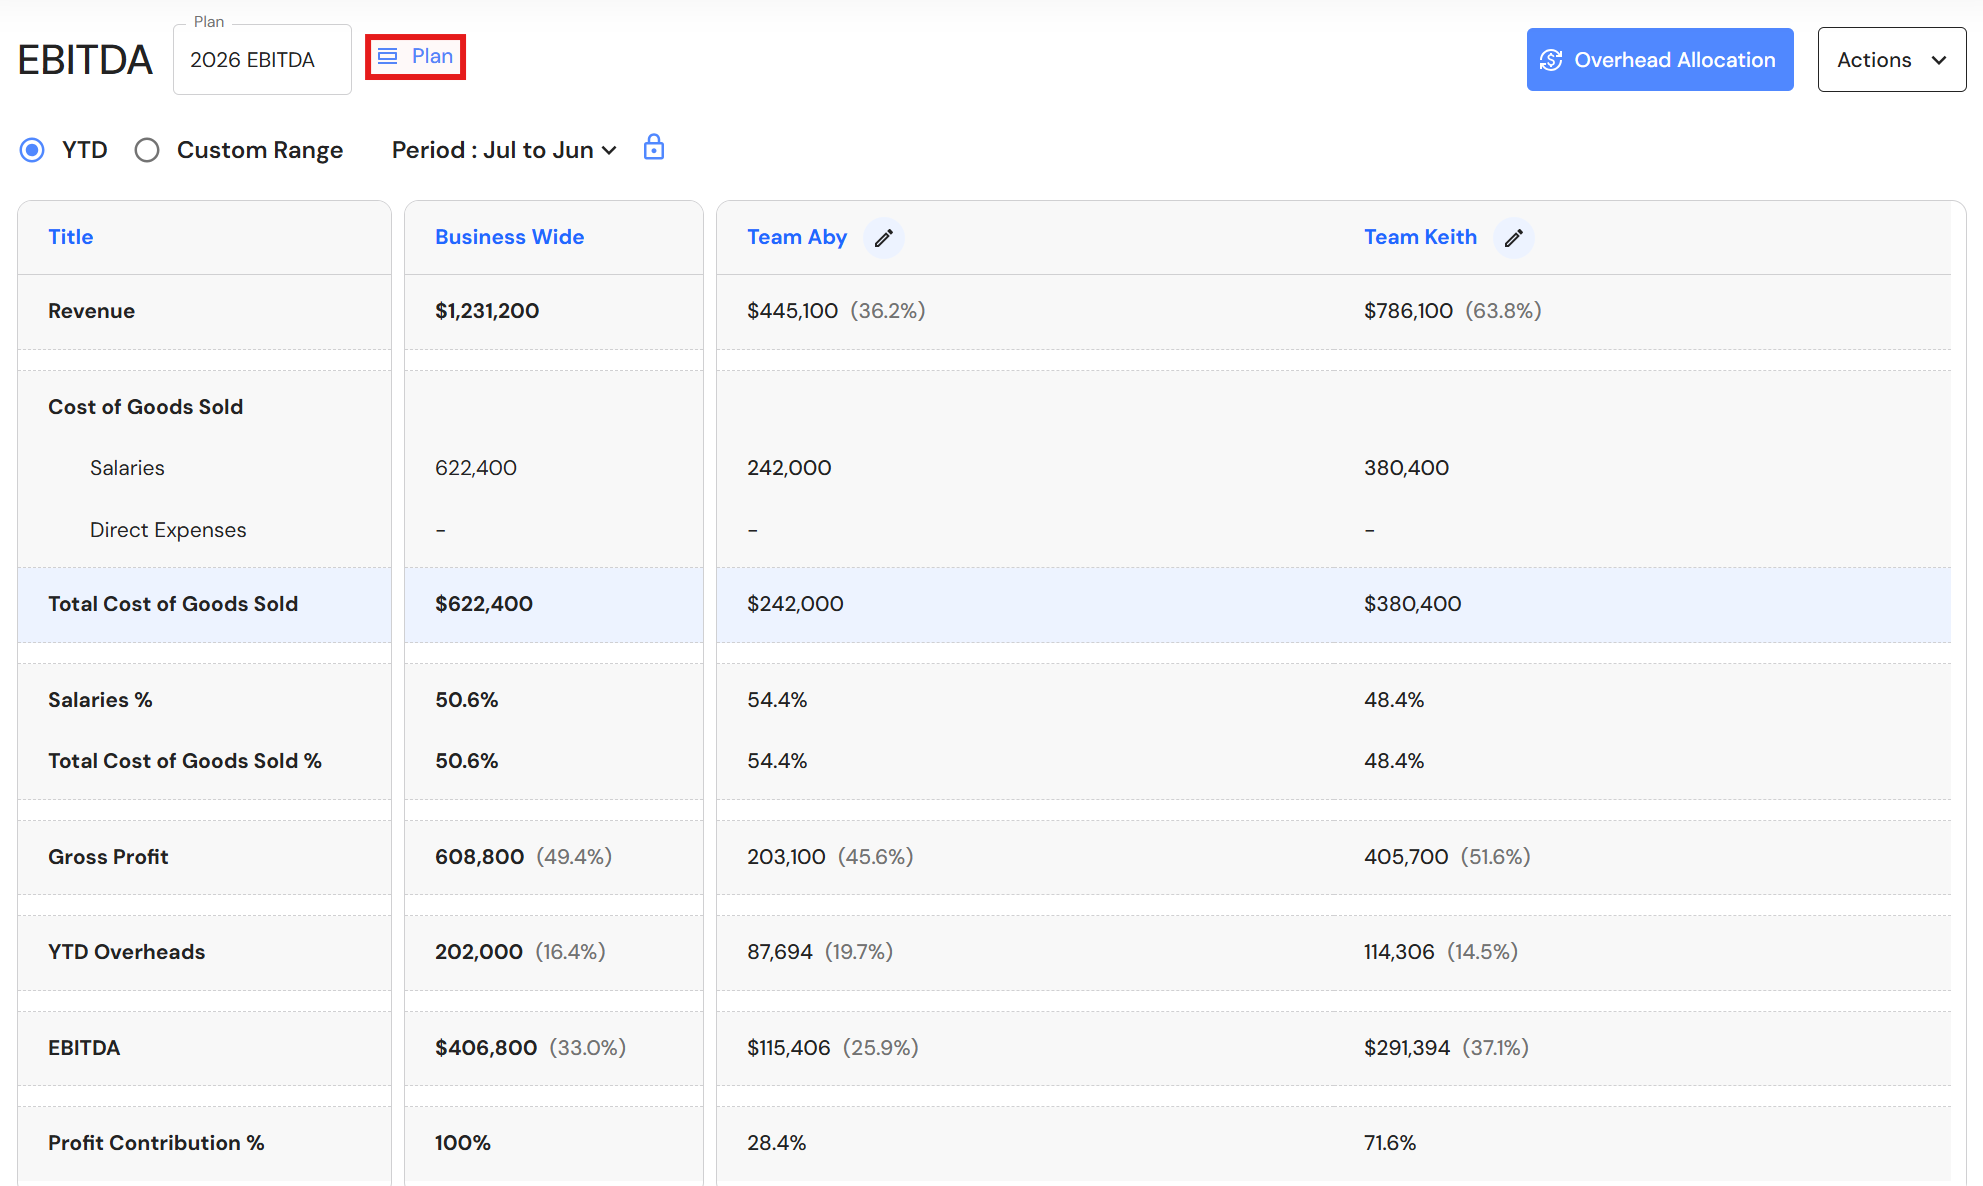
- Click the 'Plan' button.
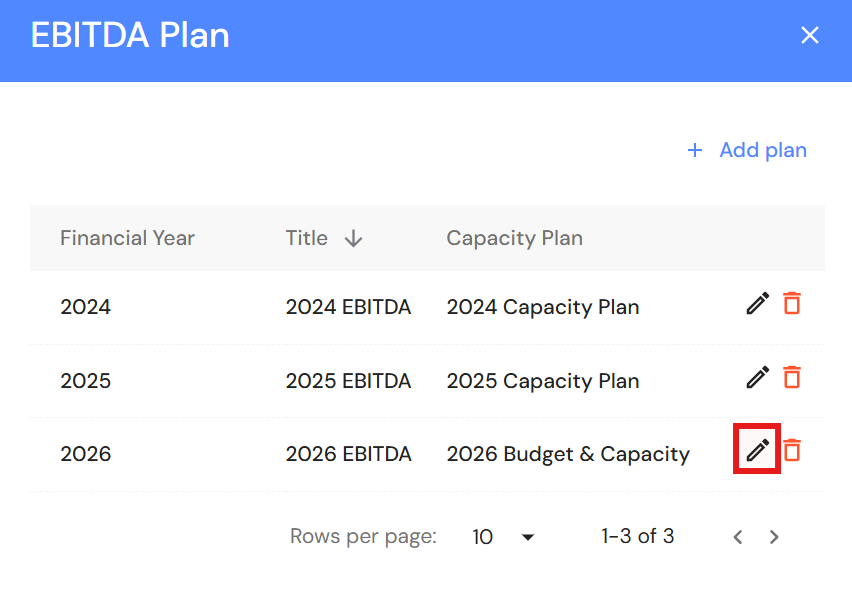
- Click the pencil icon.
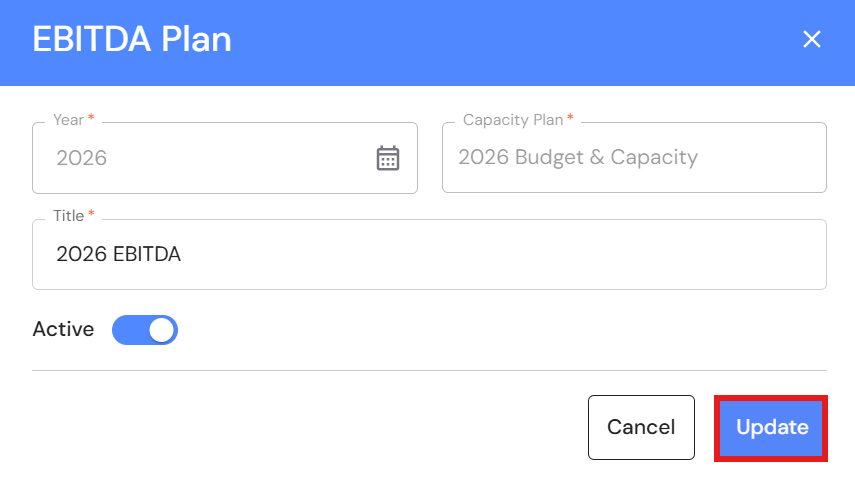
- Change the title and click 'Update'.
Delete an EBITDA plan
- Click the 'Plan' button.
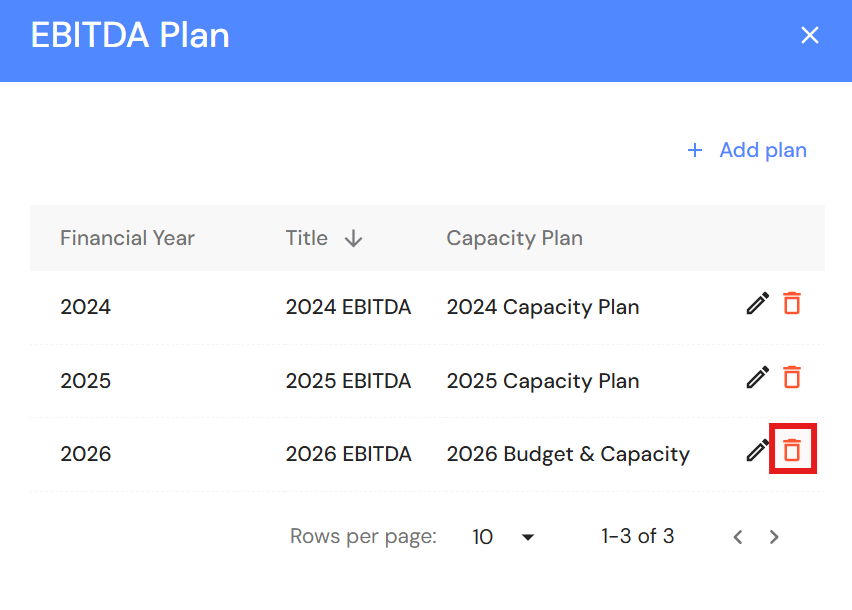
- Click the bin icon.
- Click 'Delete' to confirm.