Client NPS
This article demonstrates how to create and update the Client NPS plan.
Create a Client NPS plan
The Budget & Capacity plan is the foundation for all FAB5 schedules including the Client NPS. In most cases, the Client NPS will automatically be created alongside the Budget & Capacity plan.
If you need to create a standalone Client NPS, you must have a new Budget & Capacity plan that is not already linked to another Client NPS plan.
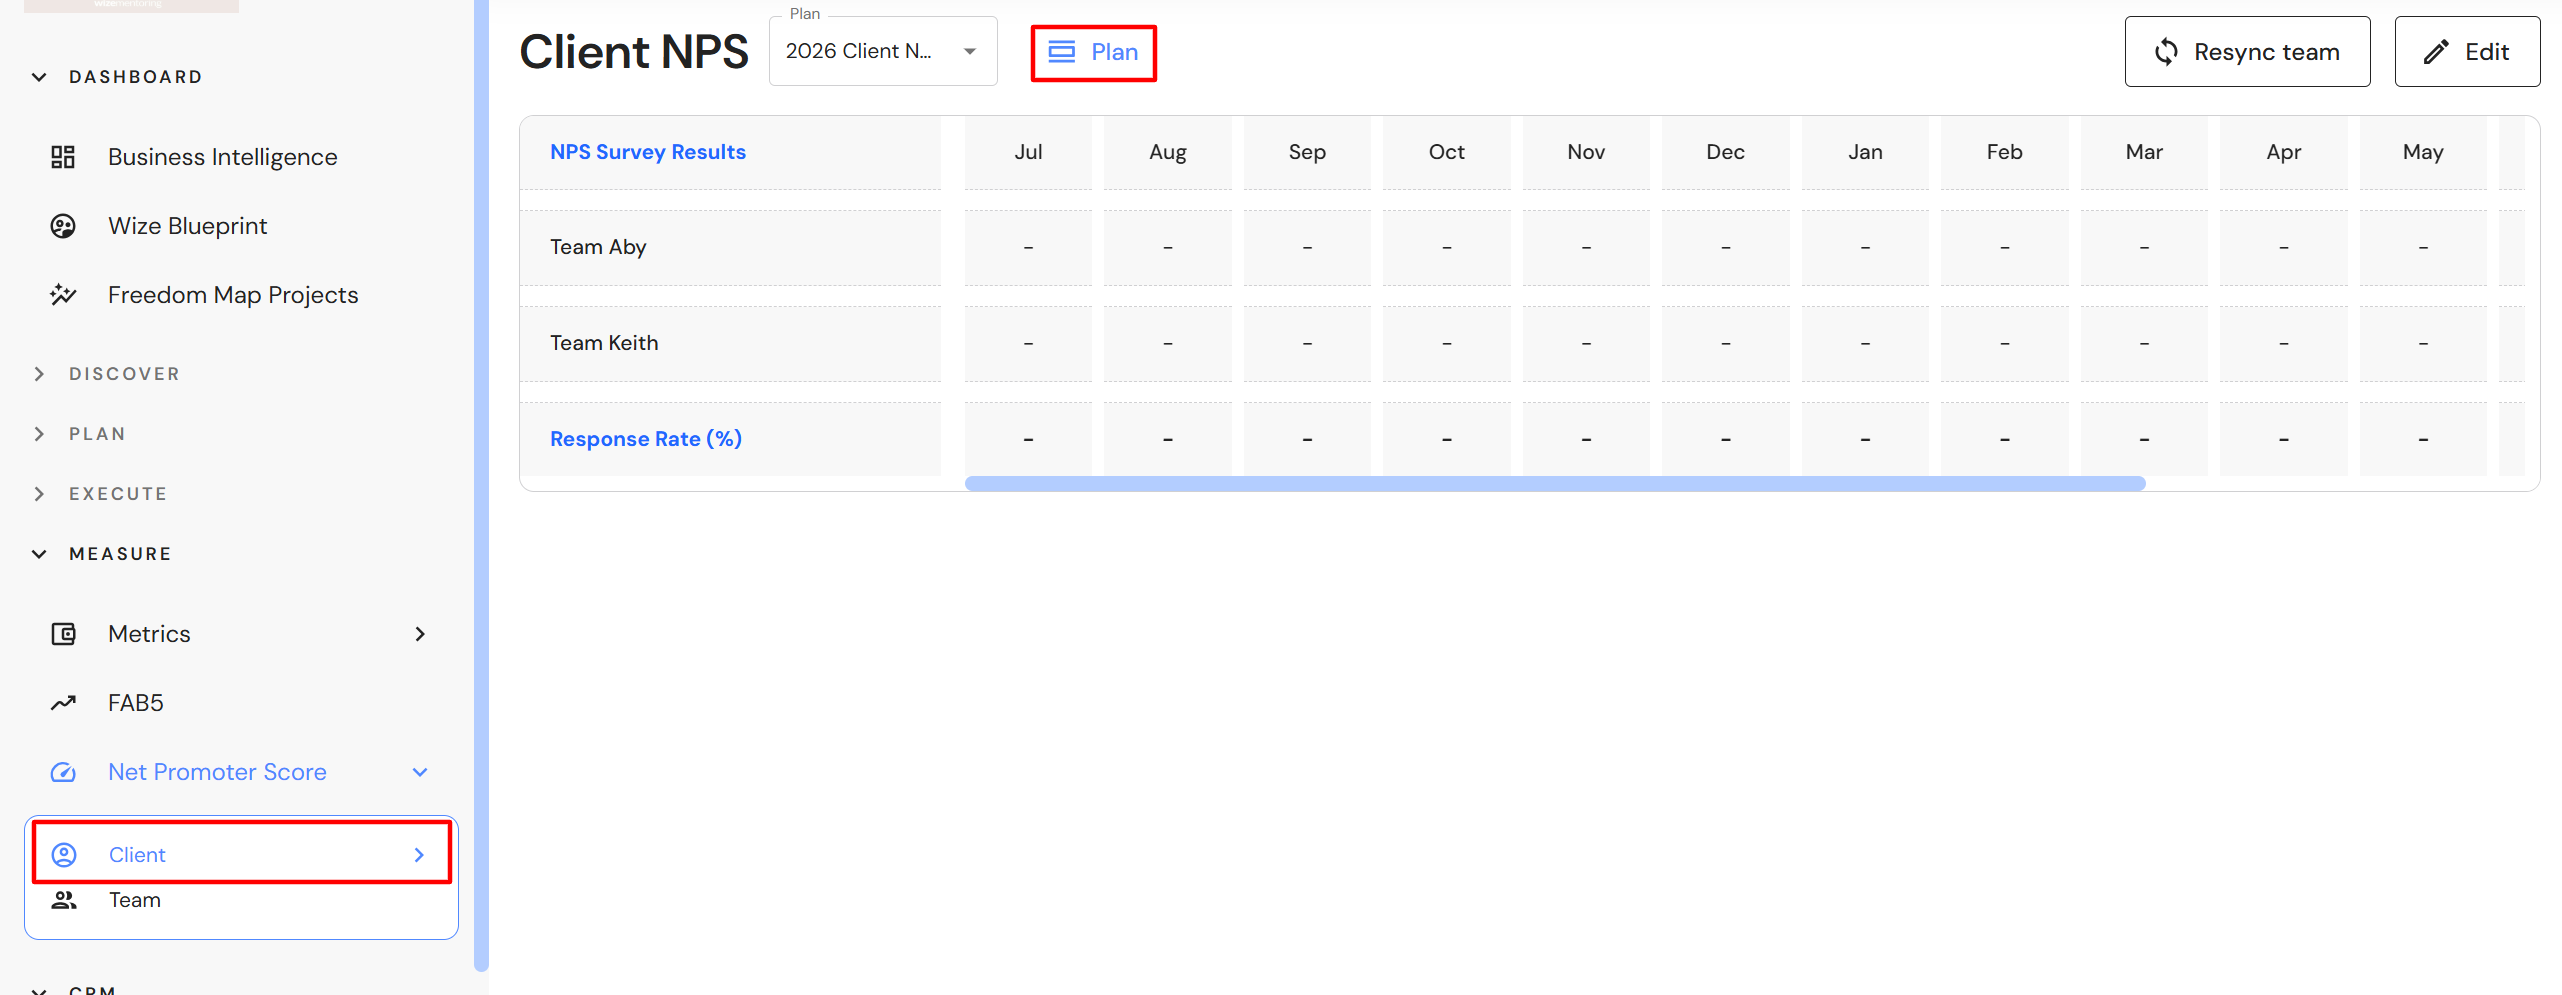
- Go to Measure > Net Promoter Score > Client
- Click on the 'Plan' button.
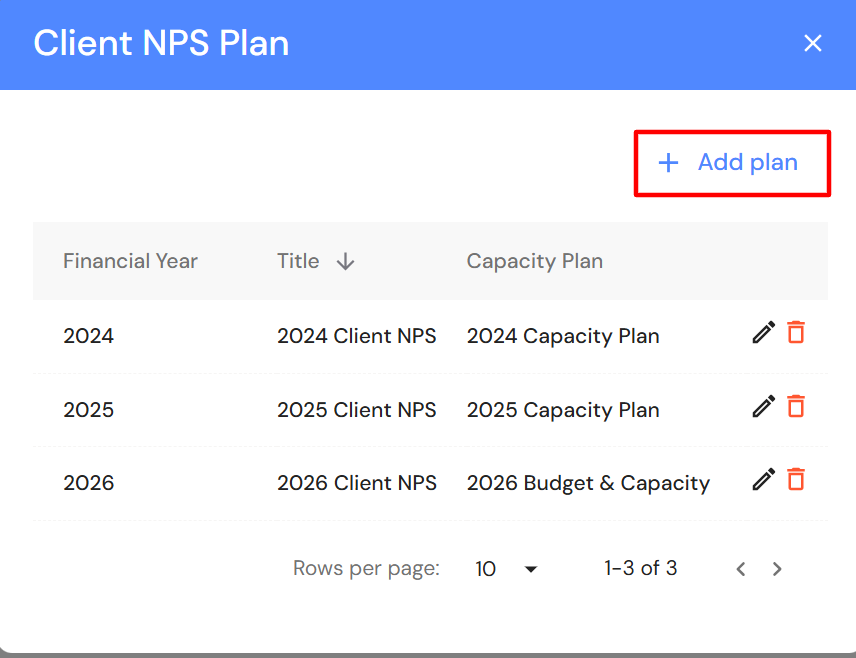
- Click on '+ Add plan'.
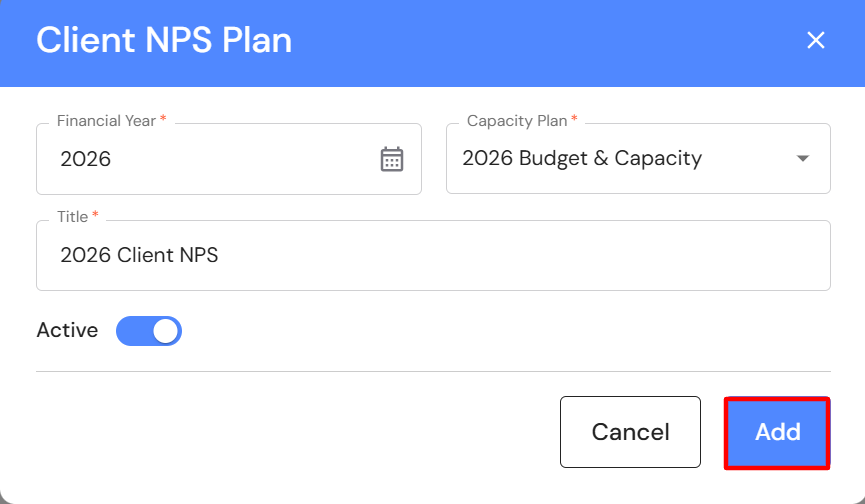
- Select the financial year and capacity plan to be linked to the Client NPS.
- Add a title e.g. 2026 Client NPS.
- Switch the 'Active' toggle on if you would like the Client NPS plan to be the default plan. NB* If you have the active toggle set to 'on' in more than one Client NPS plan, the newest plan will become the default.
- Click on 'Add'.
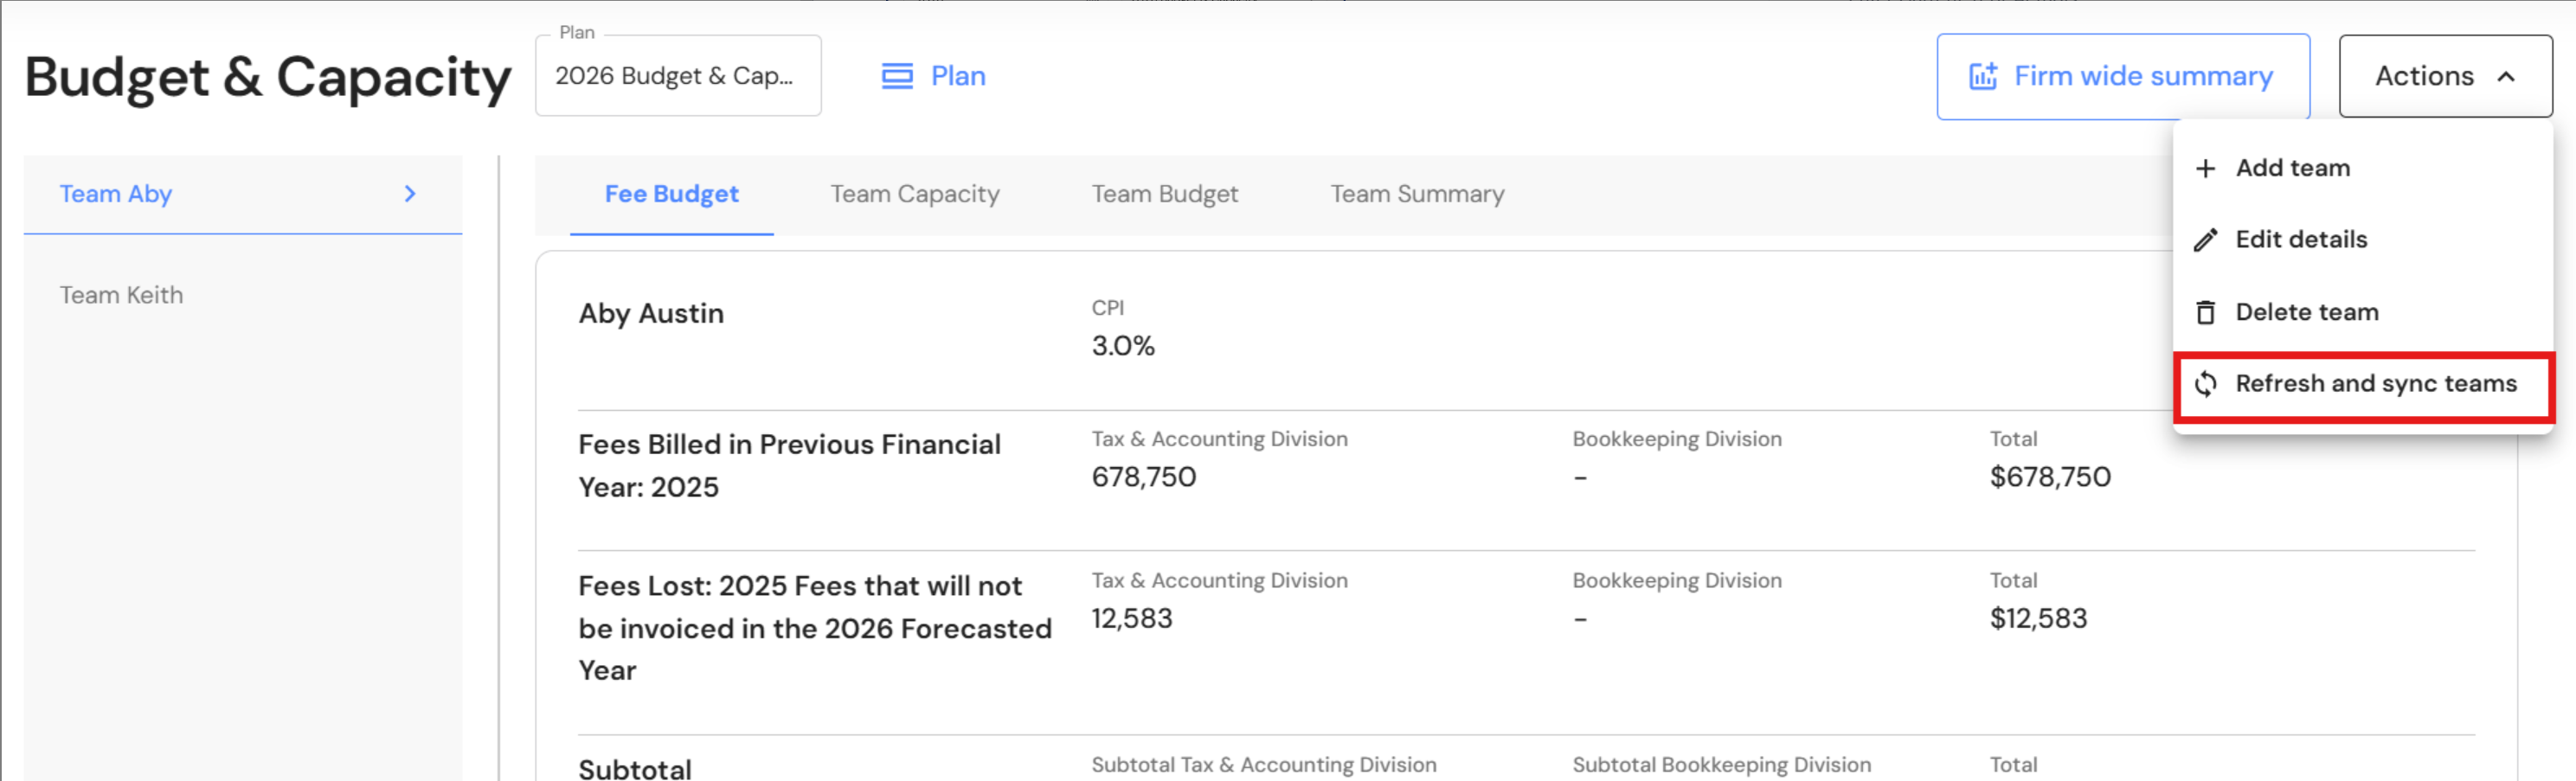
- Teams will automatically sync from the Budget & Capacity plan.
If you add more teams to your Budget & Capacity plan, click on 'Actions → Refresh and sync teams' and the Revenue plan will update with the team changes.
Update the Client NPS
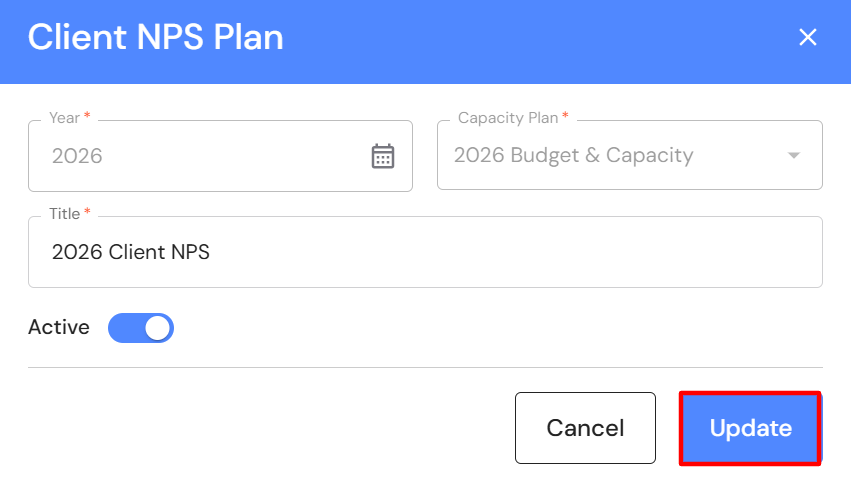
- In the Client NPS plan, click on 'Edit'.
- Add the average NPS score for each team in the relevant month.
- Add the business wide response rate. The response rate is the percentage of clients that responded to the NPS survey sent during the reporting period.
- Click on 'Update'.


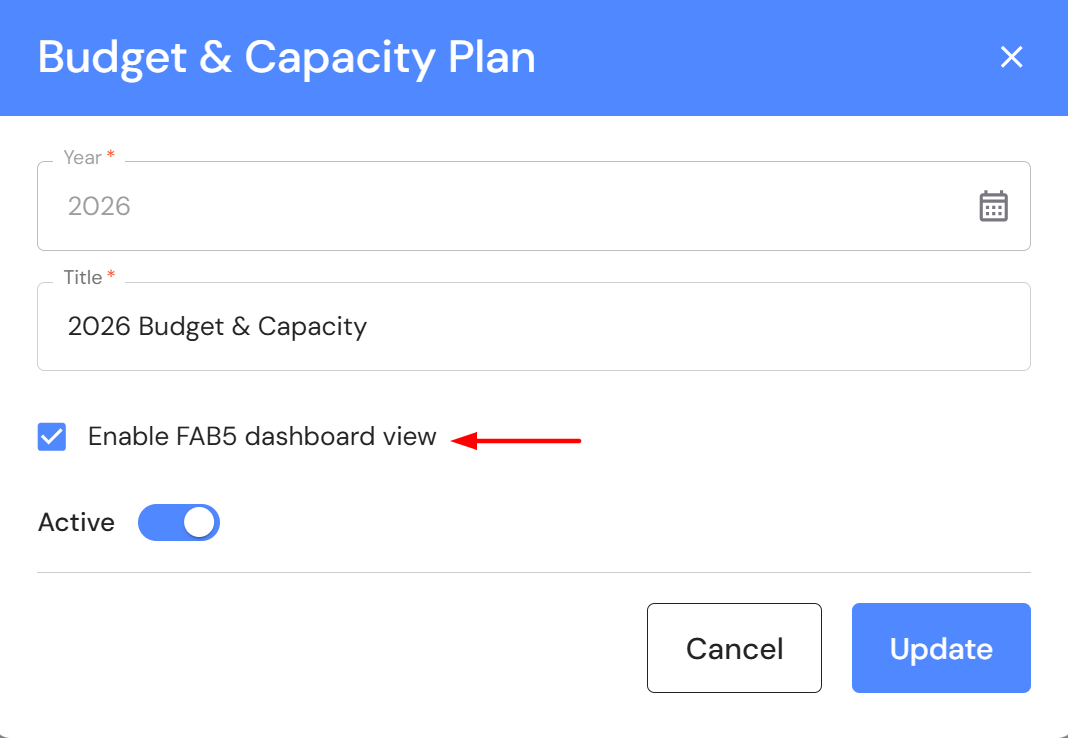
If your Budget & Capacity plan is set to 'Enable the FAB5 dashboard view', your Client NPS will be appear under the relevant KPI on the FAB5 dashboard.
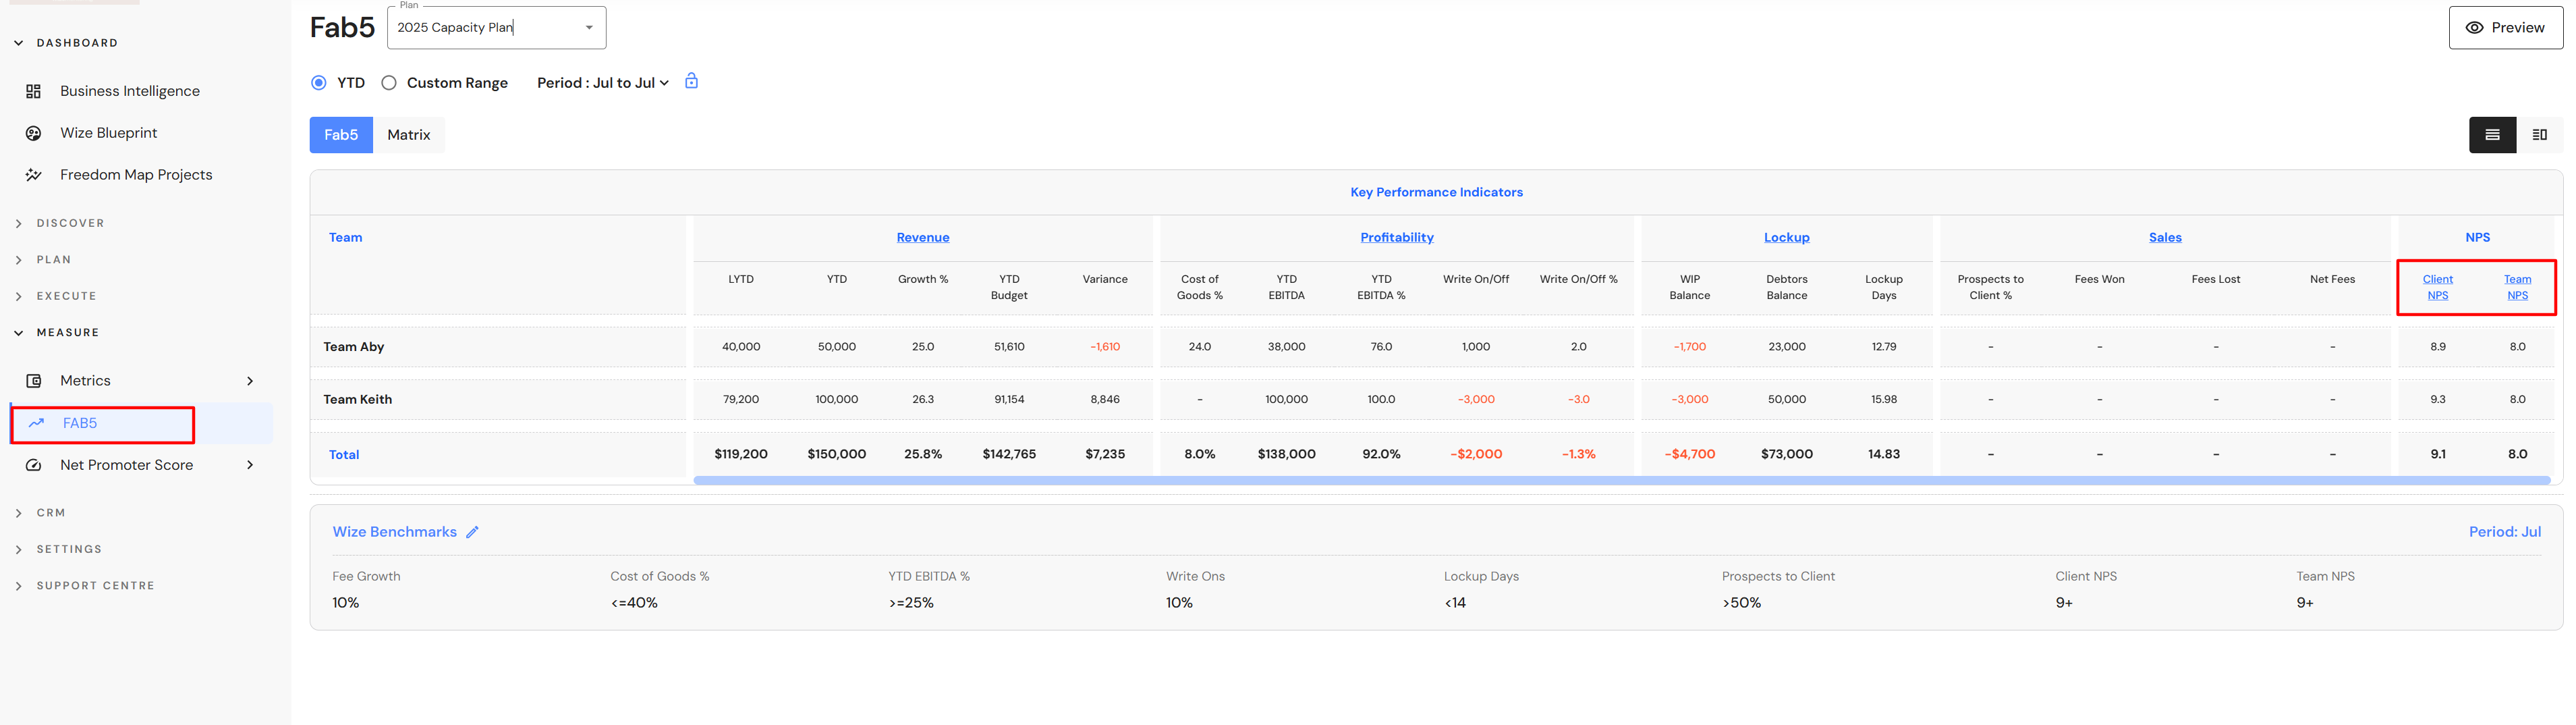
Go to Measure > FAB5 to review your NPS KPI.
Rename a Client NPS
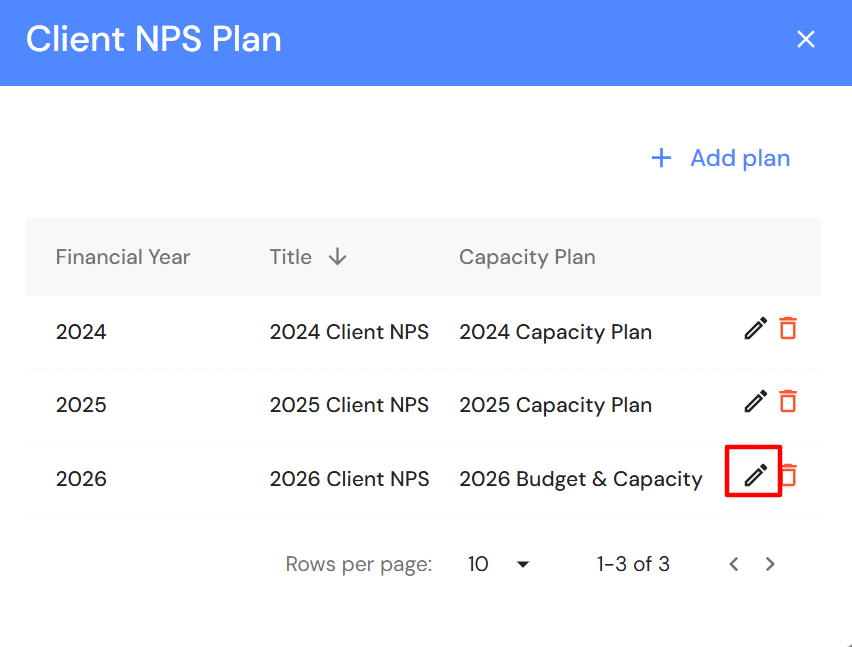
- Click on the 'Plan' button.
- Click on the edit icon.
- Change the title and click on 'Update'.

Delete a Client NPS
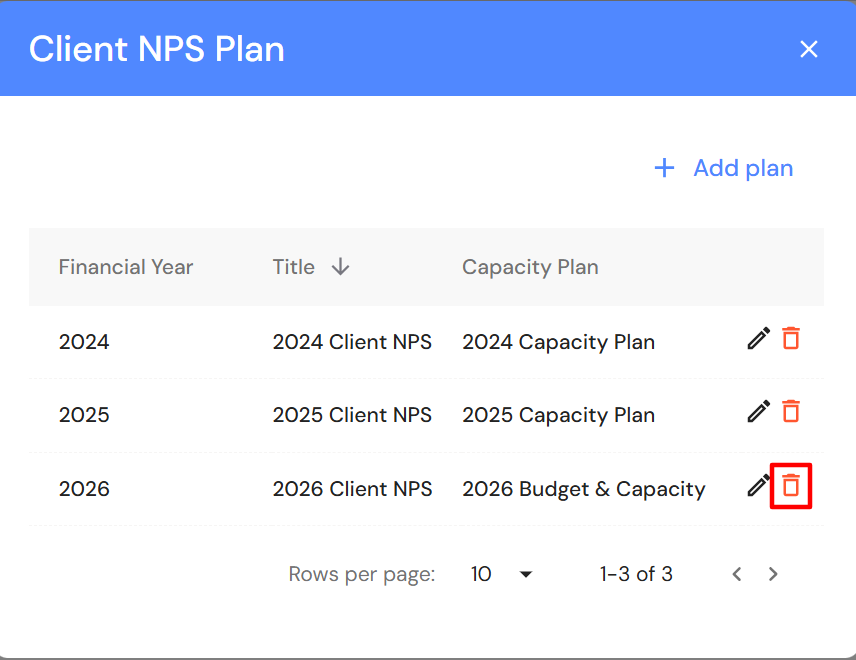
- Click on the 'Plan' button.
- Click on the bin icon.
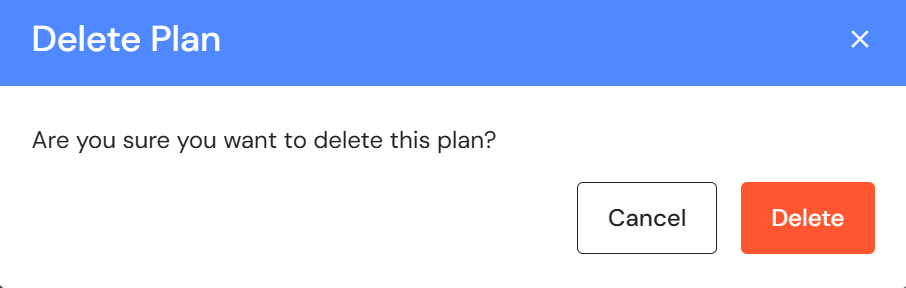
- Click on 'Delete'.